How To Change Time Zone in Windows 10/11
In this tutorial, we are going to learn how to change the Time zone and synchronize the clock on Windows operating system.
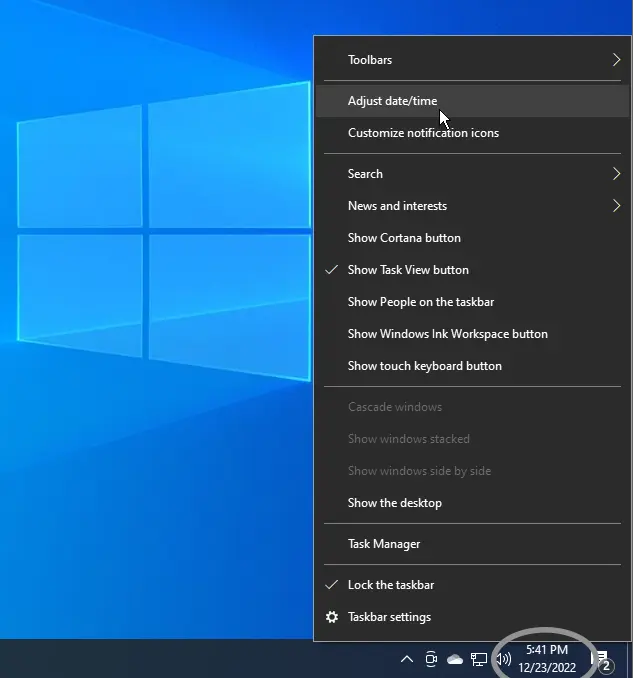
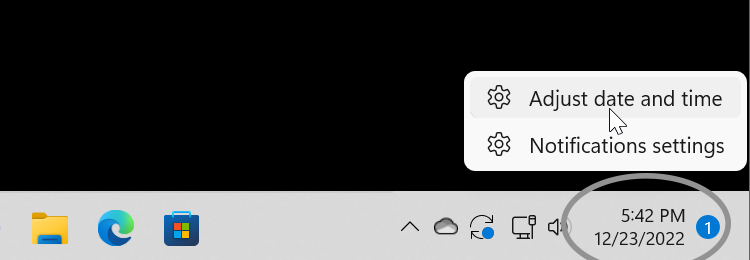
To change the Time zone on your Windows PC, right-click the time display on the bottom-right corner of the Taskbar and select Adjust date/time from the menu that appears.
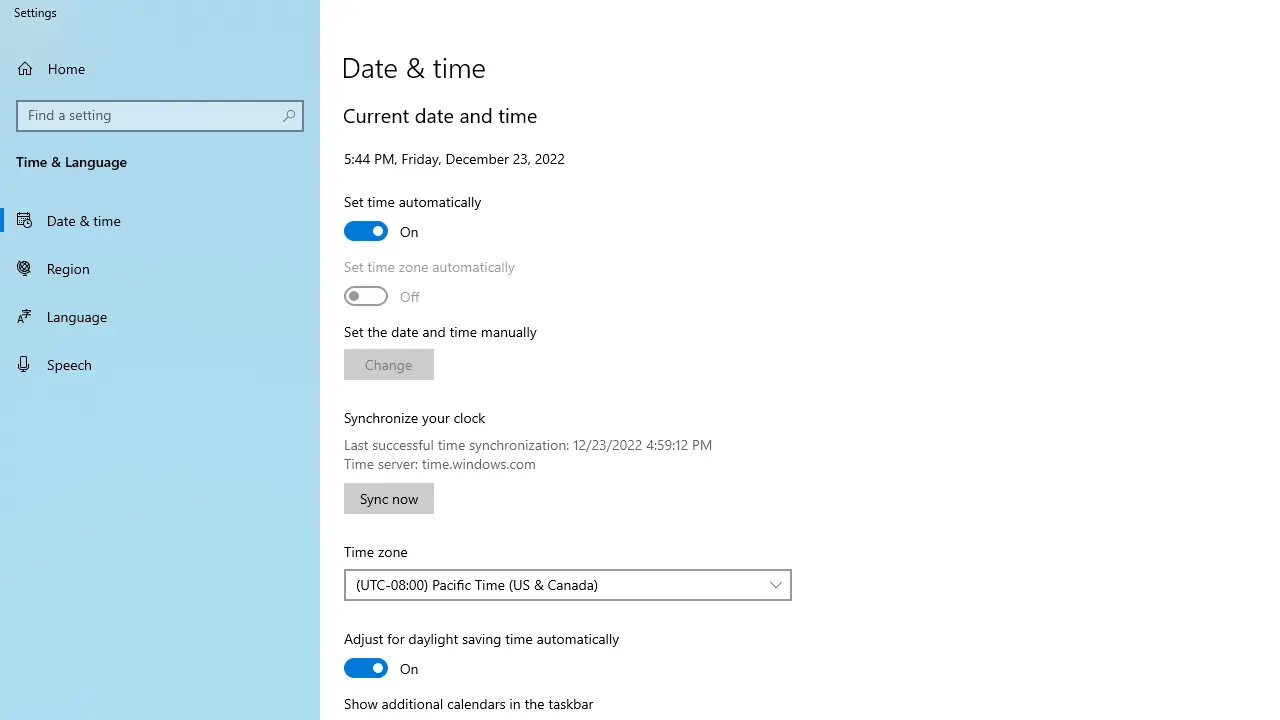
The Data & Time app appears, as shown in the following screenshot.
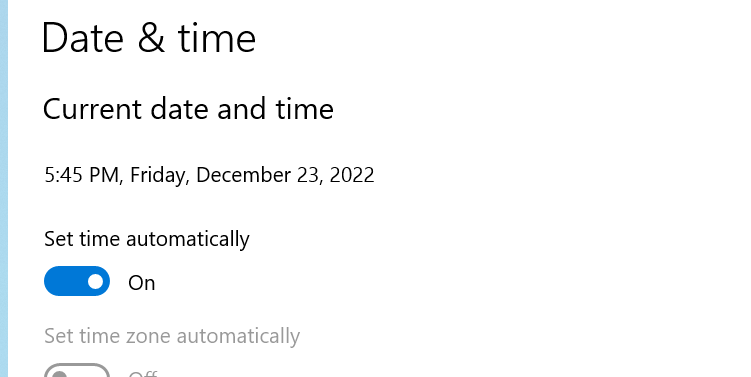
In the Data & Time app, make sure that the Set time automatically toggle switch is on, as shown in the following screenshot.
Next, click the Time zone drop-down list and choose the Time zone of your county or region.
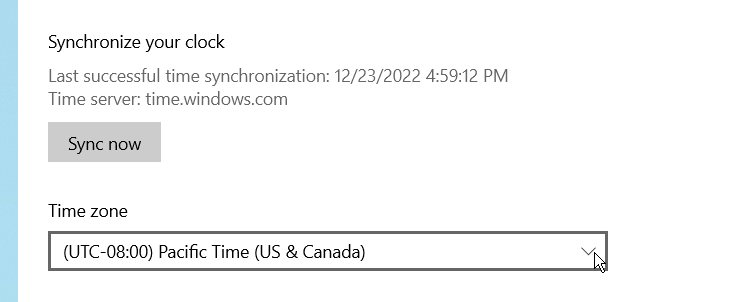
Windows will automatically adjust the date and time based on the Time zone you selected. If it does not change immediately, click the Sync now button under the Synchronize your clock section of the Data & Time app.
That is how we change the Time zone on a Windows computer. The Date & Time app is identical on both Windows 10 and Windows 11 operating systems, except for some visual differences.
By default, Windows 10/11 automatically sets the date and time on your computer based on the Time zone. If the Time zone is wrong, the wrong date and time will appear in the bottom-right corner of the Taskbar, and some apps and services will not function correctly.
If you want to prevent Windows from automatically setting the time, Turn off the Set time automatically toggle switch and then click the Set the date and time manually button.