Installing FFmpeg on Windows 10 & 11: Step-by-Step Tutorial
In this tutorial, you will learn how to install FFmpeg on Windows 10 and Windows 11. Installing FFmpeg on Windows is now very easy with the winget package manager.
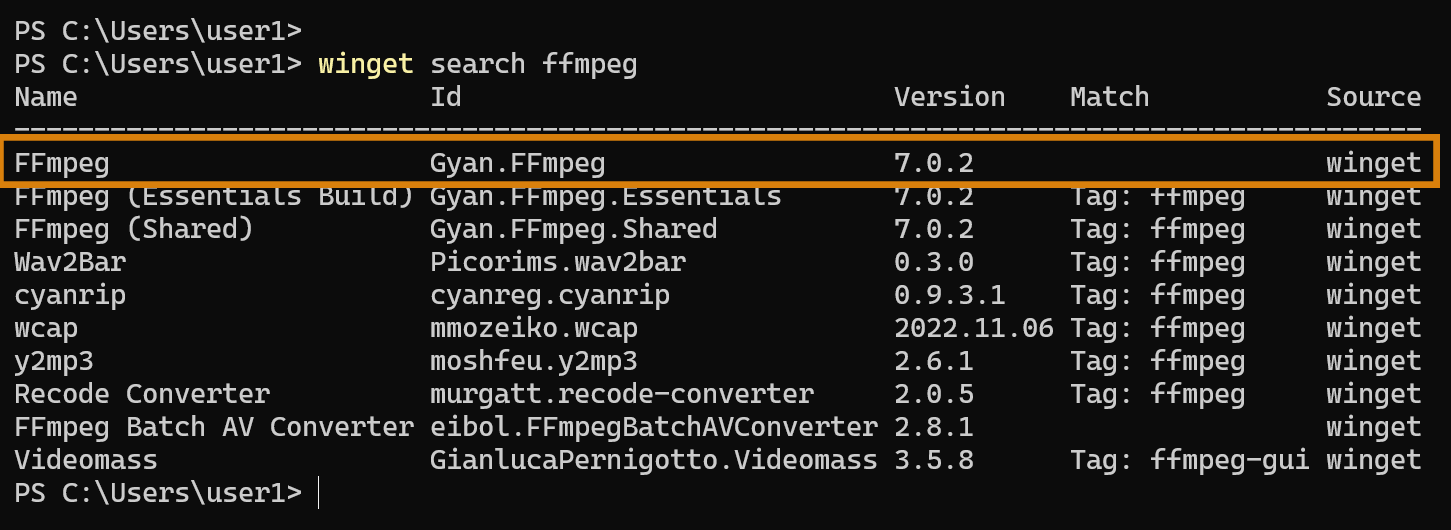
To start, open a Command Prompt or PowerShell and type winget search ffmpeg.
winget search ffmpegThe above command will find the package that provides FFmpeg for Windows.

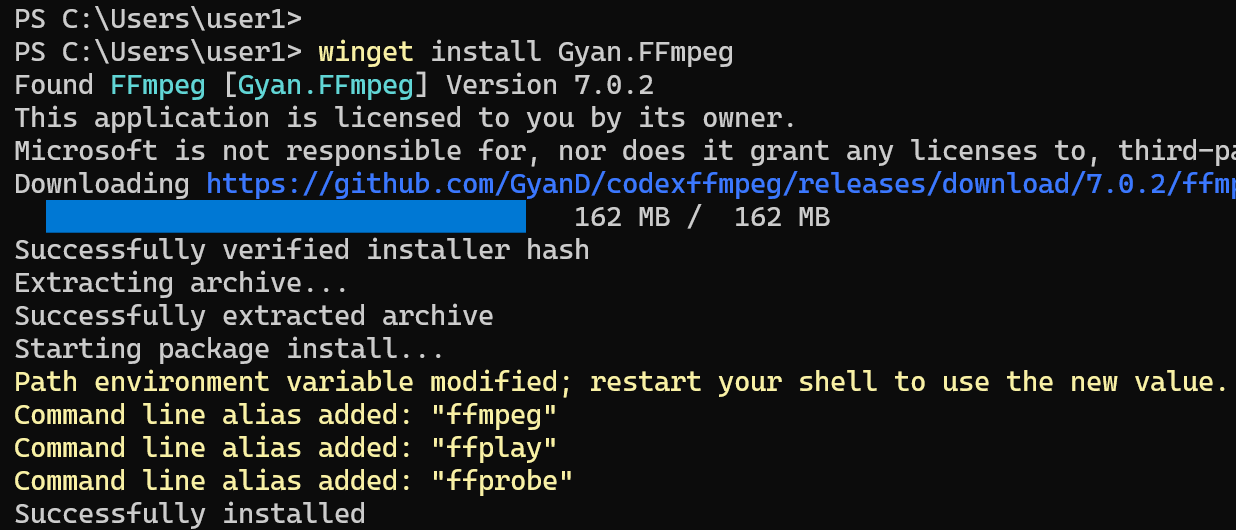
The package you want to install is called Gyan.FFmpeg, which you can install using the winget install command:
winget install Gyan.FFmpegThe previous command will install FFmpeg on your Windows PC, along with FFplay and FFprobe, which are part of the FFmpeg suite.

After the installation is complete, exit the Command Prompt and start a new one. Then, type ffmpeg -version.
ffmpeg -versionThis will display the FFmpeg version installed on your computer.
To update FFmpeg to the latest version, use the following command if an update is available:
winget upgrade Gyan.FFmpegWant to learn more about winget? Click on this link.