How to Enable Clipboard History on Windows 10 & 11
In this quick tutorial, I'll show you how to enable clipboard history on Windows 10 and Windows 11. This handy feature saves multiple copied items, making it easier to paste recent text or images.
To get started, press the Windows key + V on your keyboard. This will open the clipboard history window.
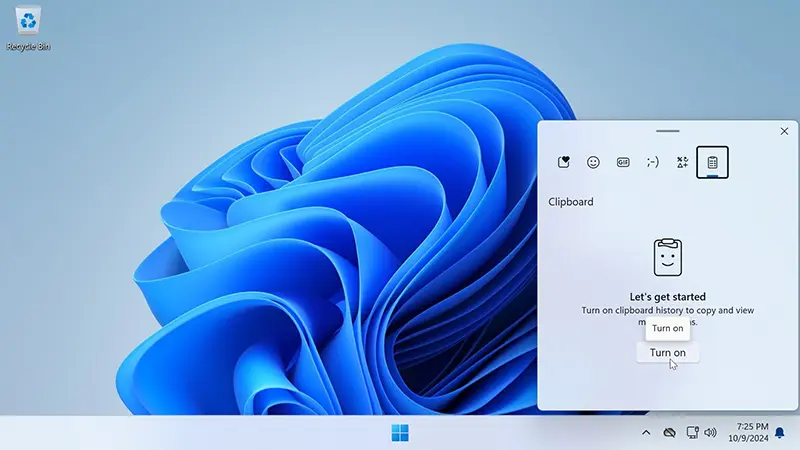
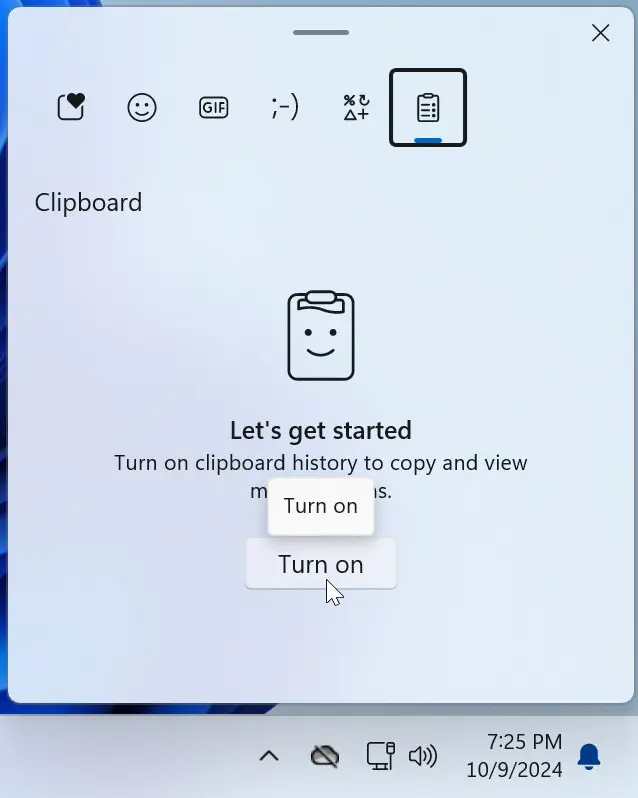
As you can see, it's currently turned off. So let’s turn it on.
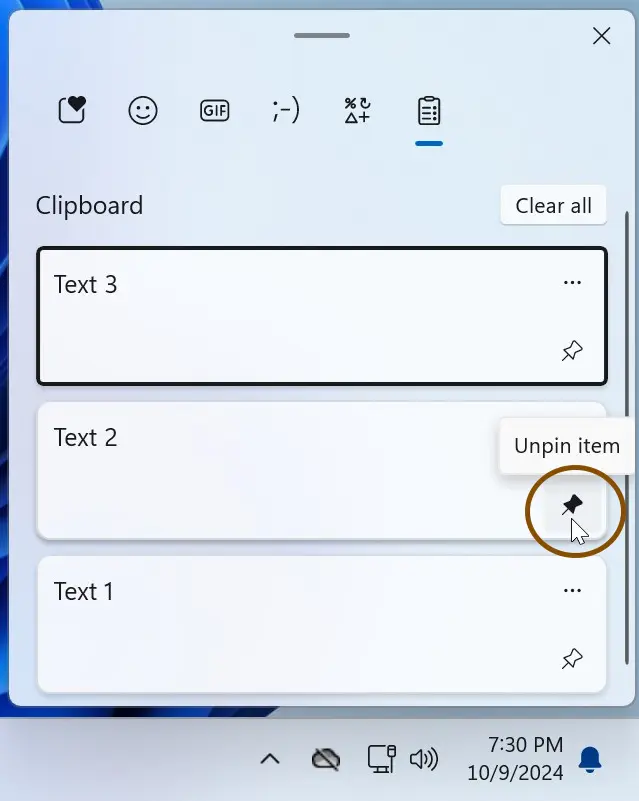
Now, go ahead and copy multiple items to the clipboard, then press Windows key + V. You will see each item you copied in the clipboard history window.
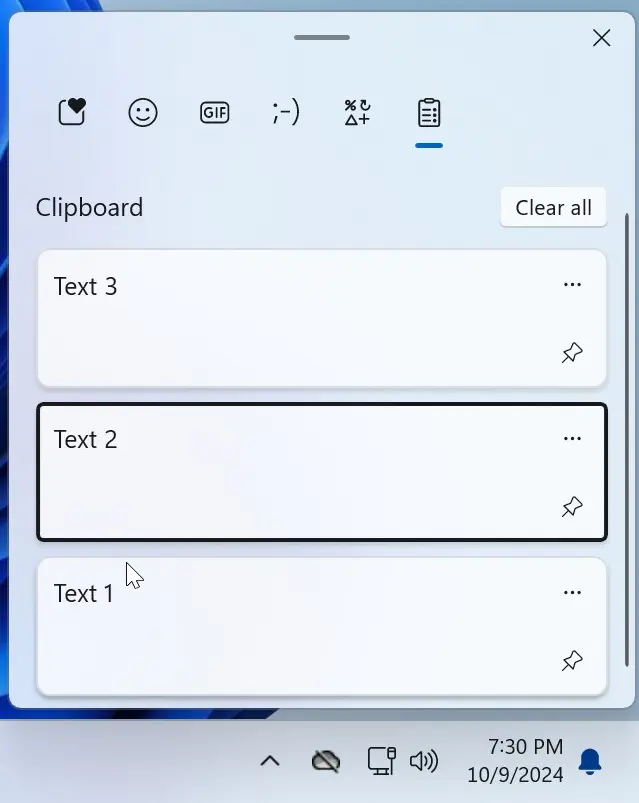
You can navigate between items using the arrow keys and press Enter to select an item.
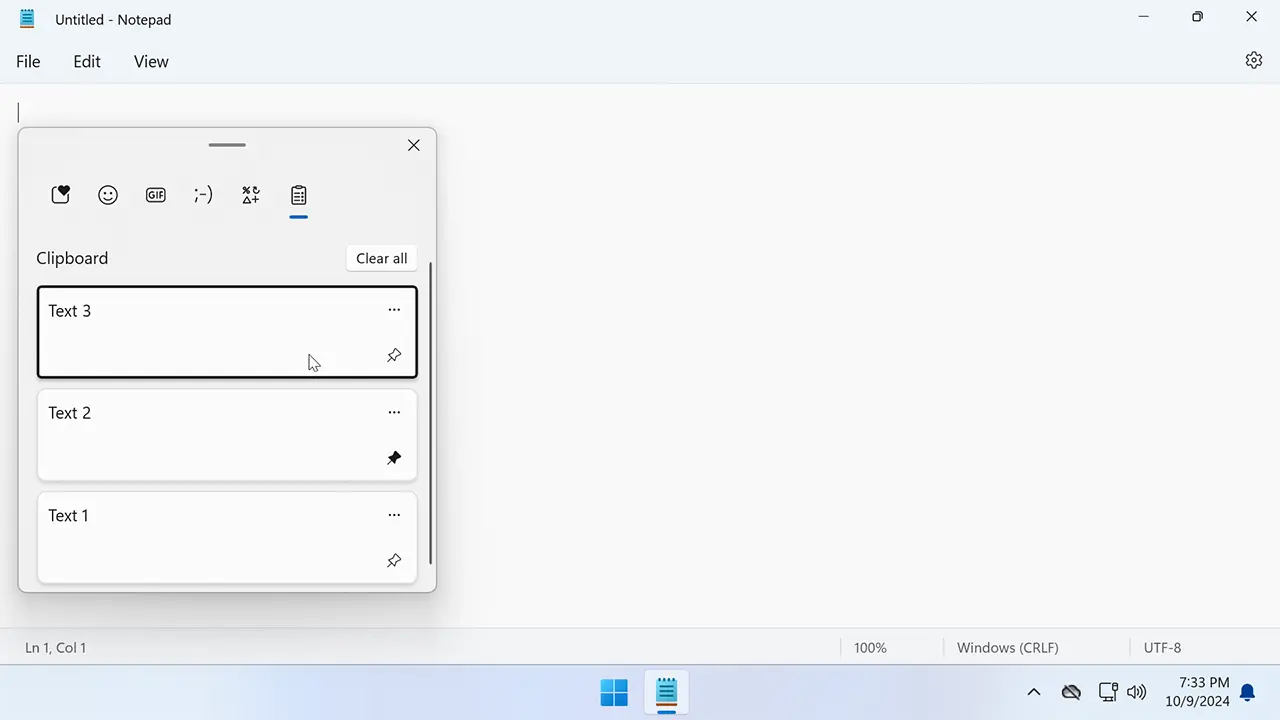
Another handy feature is that you can open the clipboard history window while working on a text editor or word processor by simply pressing Windows key + V. When you select an item from the history, it will automatically paste into the document you're working on.
- Clipboard history is cleared when you restart your computer.
- If you want to keep an item permanently, you can click the pin icon next to it.
- To remove an item, click the three dots and then select Delete.
Finally, if you want to disable clipboard history, just go to System Settings, select Clipboard, and toggle off the Clipboard history switch.
Windows Clipboard Shortcut Keys
| Windows key + V | Opens Clipboard history, allowing you to access previously copied items. |
| Ctrl + C | Copies the selected item to the Windows Clipboard. |
| Ctrl + X | Cuts (removes) the selected item and adds it to the clipboard. |
| Ctrl + V | Pastes the item from the clipboard to the selected location (document, etc.). |