How to Create a Local Account in Windows 11 Without a Microsoft Account
Let's learn how to create a local account in Windows 11. A local account doesn't require an email address and doesn't sync your data to the cloud. It's perfect for users who want more control over their privacy and want to avoid cloud syncing.
The following guide is for users who already have Windows installed. If you want to do a fresh Windows installation without a Microsoft account, the solution is to install Windows without connecting your PC to the internet.
How to Install Windows 11 Without an Internet ConnectionTo create a local user account on Windows 11, follow these steps:
- Open Windows Settings (press
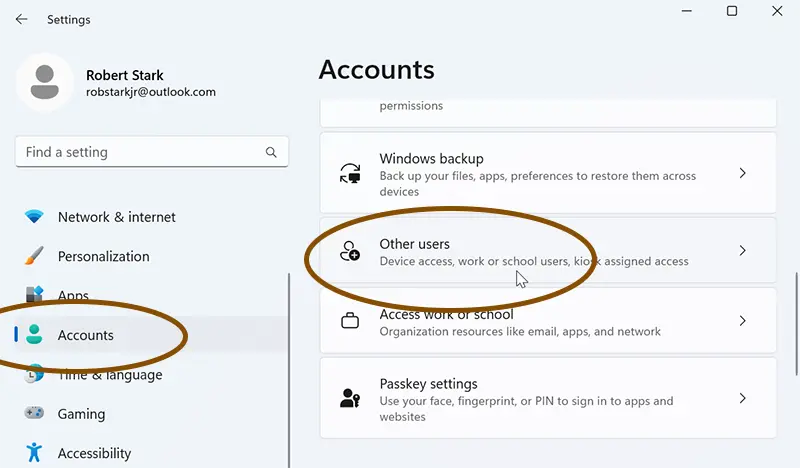
Windows key + I). - In the left pane, click on Accounts.
- In the right pane, under Account settings, click on Other users.
- Click on the Add account button.
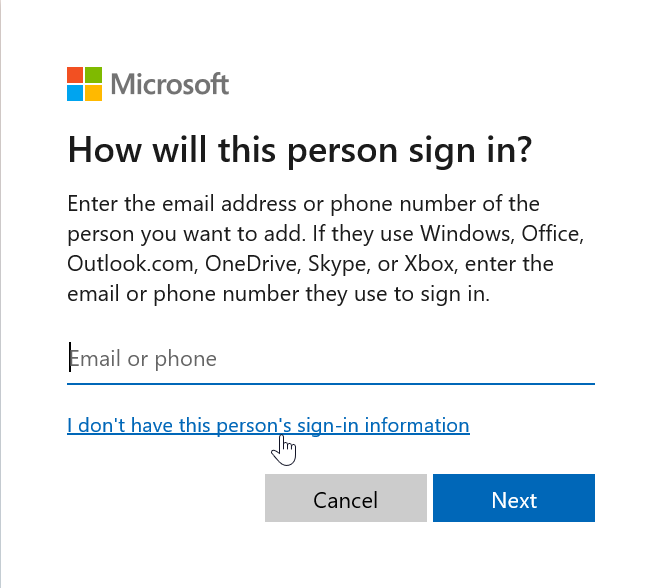
- Select "I don't have this person's sign-in information."
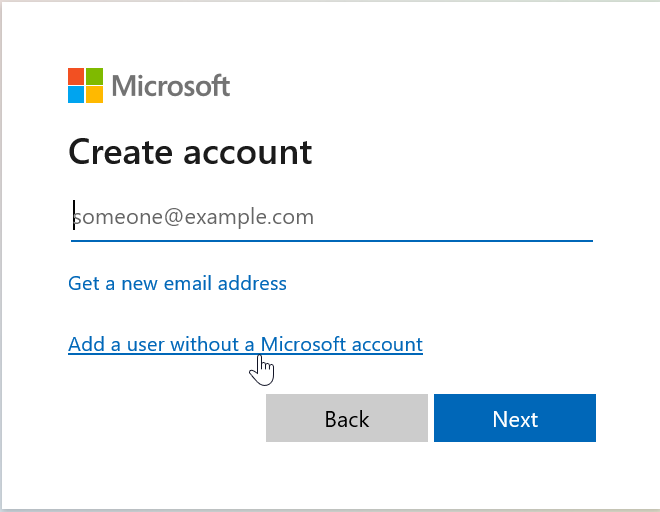
- Click on "Add a user without a Microsoft account."
- Provide a username and password for your new local account.
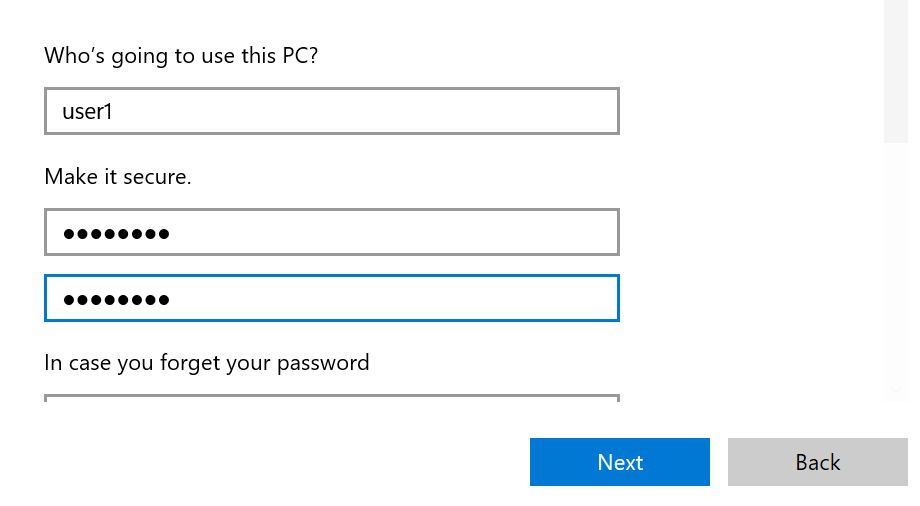
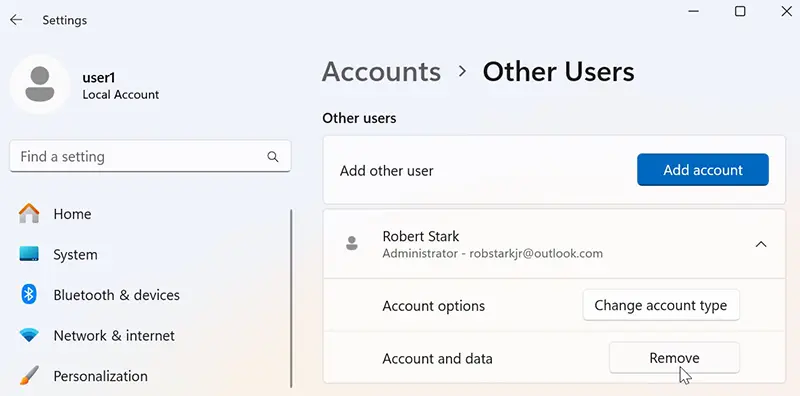
By default, the user account will be a standard account. If you want to give the account administrator privileges, click on Change account type, then select Administrator.
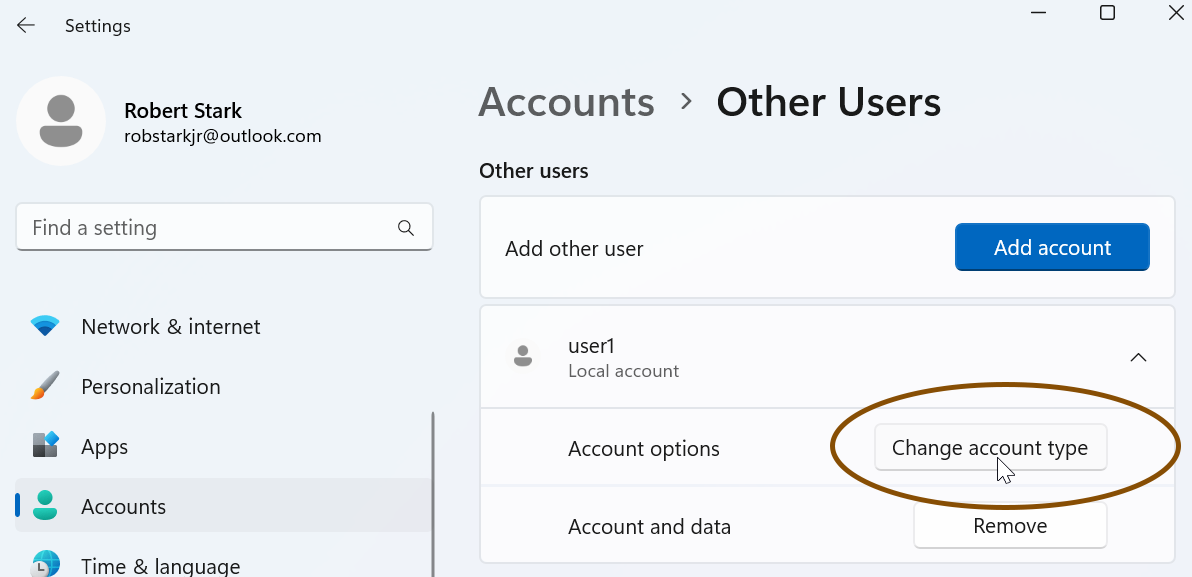
This will also allow you to delete the existing Microsoft account if you wish.
To delete the Microsoft account, log in to the new local account and follow these steps:
- Open Settings (press
Windows key + I). - Go to Accounts.
- Click on Other users.
- Click on the Microsoft account and then click the Remove button.
