How to Install VMware Workstation on Ubuntu 24 (Step-by-Step Guide)
Follow these steps to download and install VMware Workstation on your Ubuntu 24.04 Desktop.
Step 1: Create a Broadcom Account
If you haven’t downloaded VMware Workstation yet, start by creating a Broadcom account using this link.
Step 2: Sign in to Your Account
After creating your account, make sure to sign in to the Broadcom Support Portal using this link.
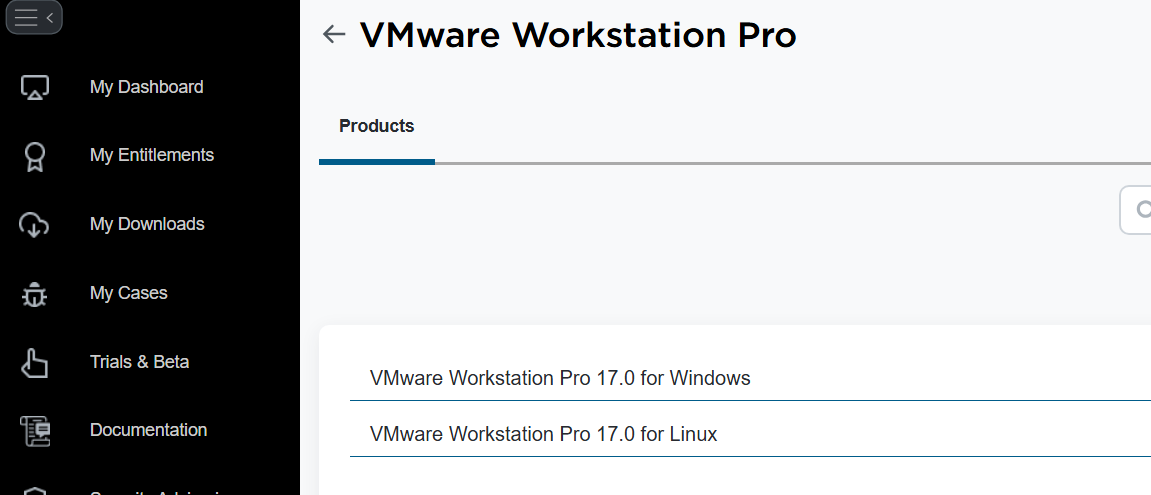
Step 3: Download VMware Workstation for Ubuntu
Next, click this link to go to the VMware Workstation download page.
On the download page, select VMware Workstation for Linux and ensure you download the latest version.
Step 4: Install Required Dependencies
Before running the VMware Workstation installer, you need to install the following dependency packages using the apt command:
sudo apt update
sudo apt install build-essential dkms linux-headers-$(uname -r)
Step 5: Run the Installer
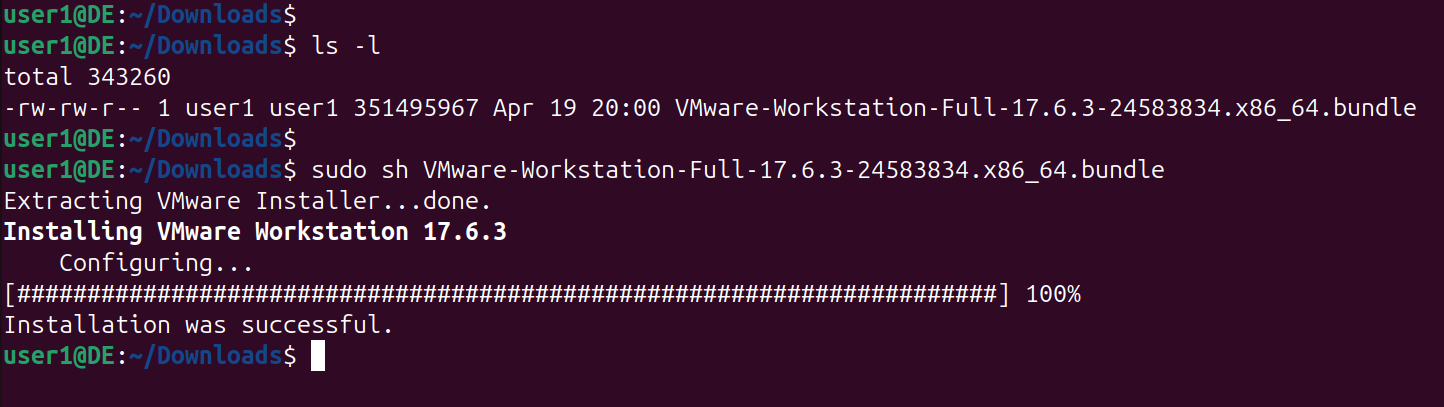
Now, run the VMware installer you previously downloaded using the sh command. Make sure you’re in the download folder, and replace the .bundle file name with the one you downloaded.
sudo sh VMware-workstation-Full-####-####.bundleStep 6: Launch VMware Workstation
After the installer runs successfully, launch VMware Workstation using the shortcut in the app menu. The wizard will guide you through the final steps to complete the installation of VMware Workstation Pro on your Ubuntu 24 Desktop.
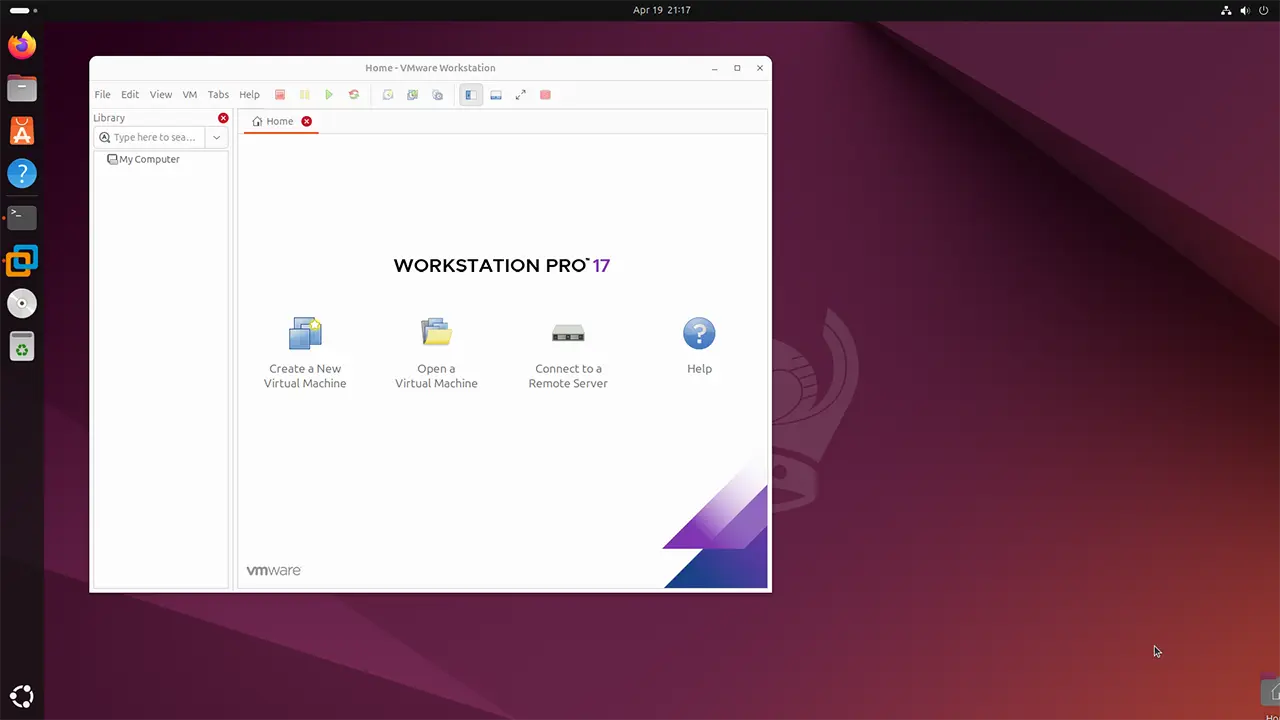
You're All Set! Begin Creating VMs with VMware Workstation Pro
And that’s it! You can now start creating VMs on your Ubuntu Desktop using VMware Workstation Pro. If you found this guide helpful, don’t forget to subscribe to our YouTube channel @RealClearComputing.