How to Install Varnish on Ubuntu Server 16.04
Varnish is a web application accelerator. We install varnish front of the web server to cache HTML files of websites and serve them faster to the users.
In this tutorial we are going to learn how to install and configure the varnish cache on Ubuntu Server 16.04. We will configure varnish for Ubuntu Apache Web Server.
Read Following article to learn how install Apache Web Server on Ubuntu Server 16.04.
Following are the steps we are going to follow.
Install Varnish on Ubuntu Server 16.04
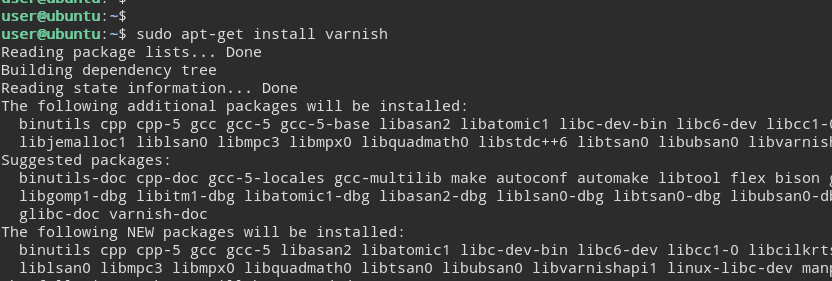
We can install varnish on Ubuntu Server using apt-get install command. Open the terminal, first update the apt source list, then install the varnish package.
sudo apt-get update
sudo apt-get install varnish
After the installation is finished, start and enable varnish.service using the systemctl command.
sudo systemctl start varnish.service
sudo systemctl enable varnish.service
Change Default Apache Port
We need to configure the Apache server to listen on different port. We will use the port 8080.
First open the /etc/apache2/ports.conf file.
vim /etc/apache2/ports.conf
Locate the line.
Listen 80
And Change it to,
Listen 127.0.0.1:8080
Then restart the Apache Web Server,
systemctl restart apache2.service
If you have configured Apache virtual hosts, You will need to change the listen port on your all virtual hosts too.
<VirtualHost *:8080>
</VirtualHost>
Configure Ubuntu Varnish Cache
Our Final step is to Configure varnish to listen on port 80 and communicate with the Ubuntu Apache web server which is now running on 127.0.0.1:8080.
Change Ubuntu Varnish Port
We need to configure varnish to run on port 80. First, create a file called varnish.service inside the /etc/systemd/system directory.
vim /etc/systemd/system/varnish.service
Then, add the following configuration
[Service]
ExecStart=/usr/sbin/varnishd -j unix,user=vcache -F -a :80 -T localhost:6082 -f /etc/varnish/default.vcl -S /etc/varnish/secret -s malloc,256m
If you are using Ubuntu 14.04, You should change the varnish port in /etc/default/varnish file. The /etc/default/varnish file will not work for the Ubuntu Server 16.04.
Configure varnish to Handle Apache HTTP Request
Our Final step is to Configure varnish to communicate with Apache Web Server. First open the /etc/varnish/default.vcl file.
vim /etc/varnish/default.vcl
And make sure that the backend default configuration is as follows.
backend default {
.host = "127.0.0.1";
.port = "8080";
}
Restart systemd daemon and varnish service
At the need we need to restart systemd daemon and varnish service using systemctl command.
systemctl daemon-reload
systemctl restart varnish
That is how we can install and configure the varnish cache on Ubuntu Server 16.04. When a http request comes to Varnish it will check whether the data for the request is available at varnish cache or not. If the cache is available, the cached data is returned to the user, and no request is sent to the apache web server. This will reduce the workload of the Apache Web server and the server load average.
Summary - Install Varnish on Ubuntu Apache Web Server
In this tutorial we learned how to install and configure Varnish cache on Ubuntu Server 16.04 with Apache Web Server.
- First, we install varnish on Ubuntu Server using apt-get install command.
- Then, We configured Apache Web Server to listen on Port 8080.
- Finally, We Configured varnish to listen on Port 80 and communicate with Ubuntu Apache Web Server.
