CMD Command to Flush DNS Cache in Windows 10/11
The Windows operating system holds onto a cache of DNS data called DNS resolver cache, so it does not have to reach out to the DNS server for every single name resolution request.
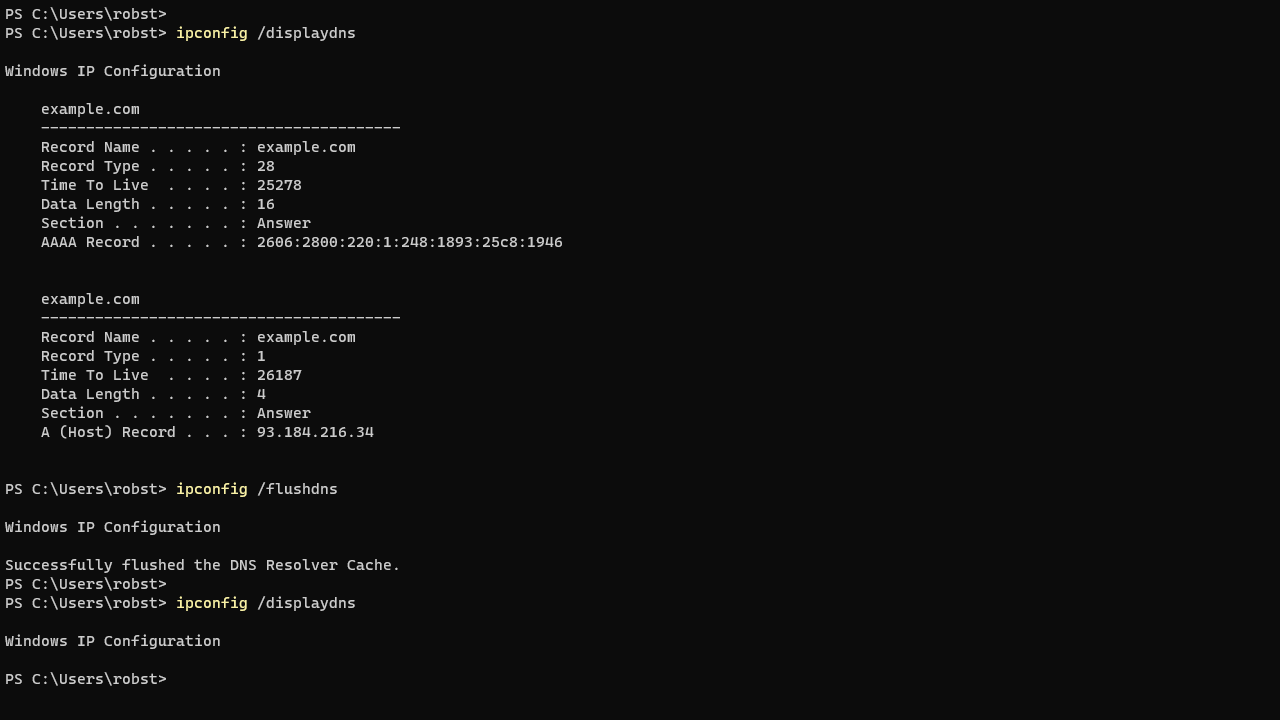
One can check the current DNS cache using the following CMD command:
ipconfig /displaydnsIf you experience problems with name resolution on your Windows 10 PC, you can flush the DNS cache with the following command:
ipconfig /flushdnsThe flushdns command removes locally cached copies of the DNS resolver and forces Windows to request a new record from the DNS server.

Using PowerShell
On a PowerShell prompt, you can display and flush DNS with Get-DnsClientCache and Clear-DnsClientCache commands, respectively.
Check the DNS client cache:
Get-DnsClientCacheFlush the DNS client cache:
Clear-DnsClientCacheThe Get-DnsClientCache command is run in the following screenshot, and it shows the DNS cache on a Windows 10/11 computer.

Troubleshooting Name Resolution
A powerful tool for troubleshooting name resolution on Windows is nslookup which allows us to perform manual DNS queries from the command prompt.
The following screenshot shows a simple example of the use of nslookup.

The first two lines show the name and IP address of the DNS server that has responded. The answer section contains the actual response to the lookup, which is IPv4 and IPv6 addresses for the domain name.
Resolve-DnsName is the PowerShell equivalent to the nslookup command.

The Resolve-DnsName command is run in the above screenshot. It shows the IPv4 (A record) and IPv6 (AAAA record) addresses of the domain name.