How Disable/Remap Caps Lock Key In Windows 10/11
In this tutorial, I'll show you how to disable or remap (reassign) the Caps Lock key on your keyboard. Many people find they accidentally hit Caps Lock, leading to unintended uppercase letters and extra editing. Let's see how to customize it!
Disable or Remap the Caps Lock Key with PowerToys
The recommended way to do this is by using Microsoft PowerToys. If you don't have PowerToys installed on your computer, click the link below and follow the instructions.
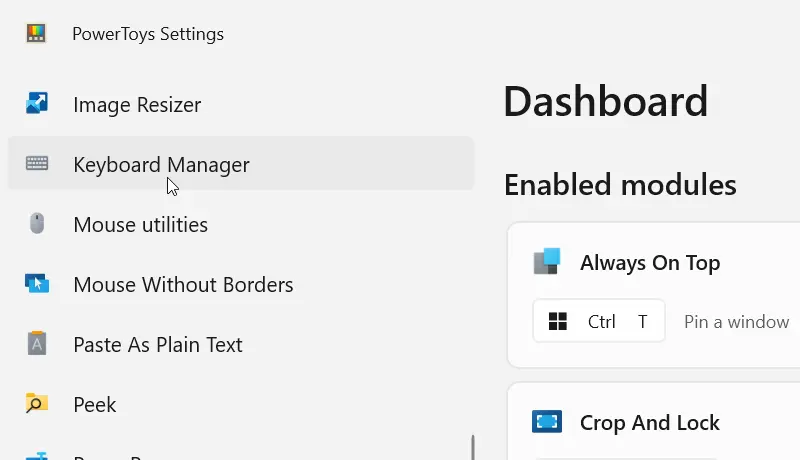
How to Install PowerToys on Windows 10/11After installing PowerToys, open it and navigate to "Keyboard Manager" in the left-hand menu.
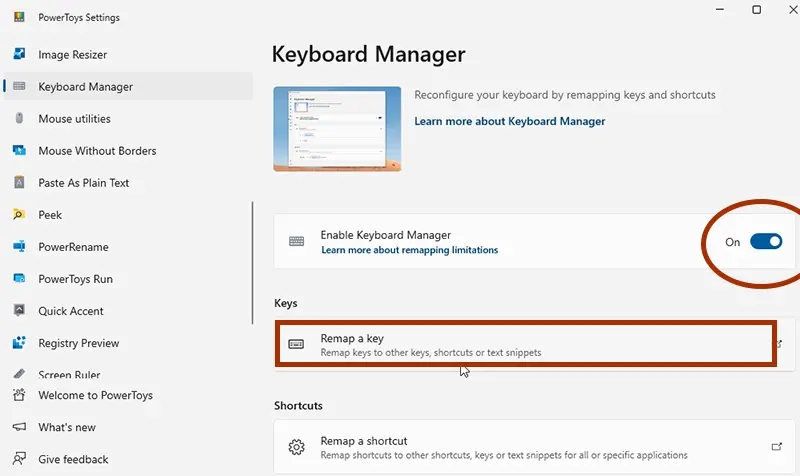
Then, turn on the "Enable Keyboard Manager" toggle switch and click "Remap a key."
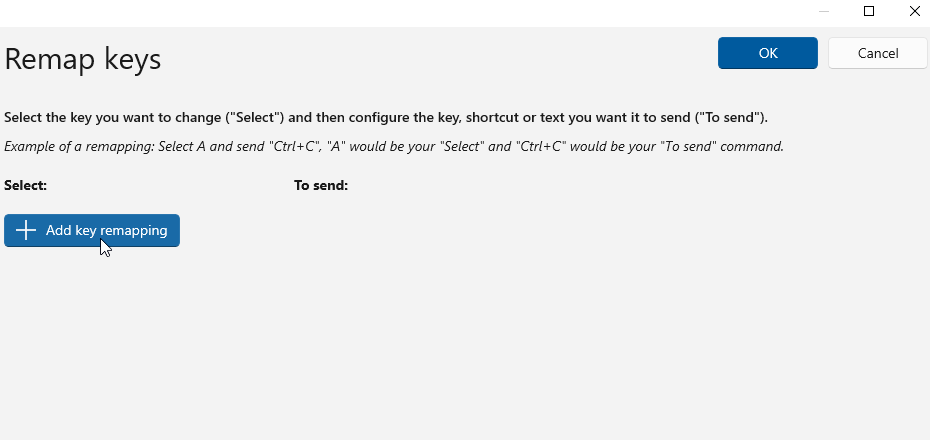
In the Remap keys window, click on "Add key remapping."
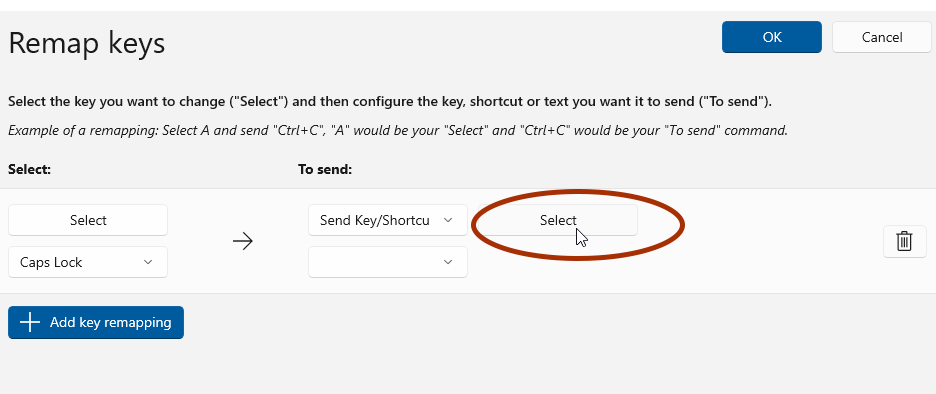
In the remap area, click the "Select" button on the left, and then press the Caps Lock key on your keyboard to select it.
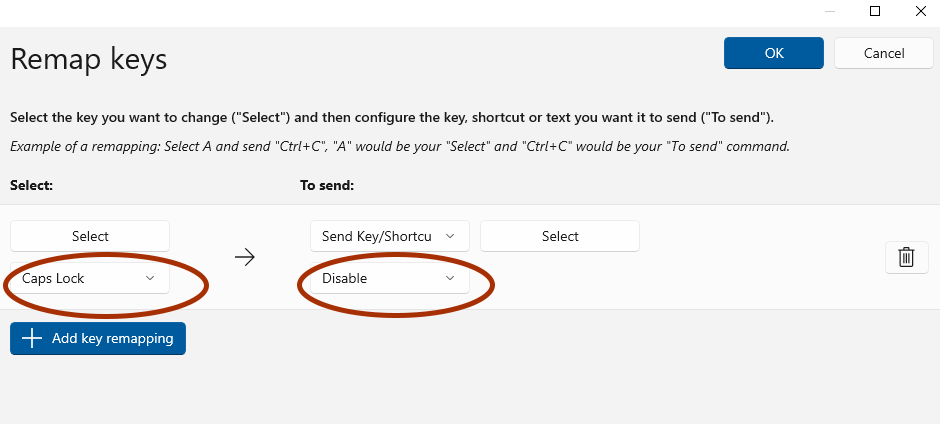
Now, if you simply want to disable the Caps Lock key, select "Disable" from the bottom drop-down menu on the right.
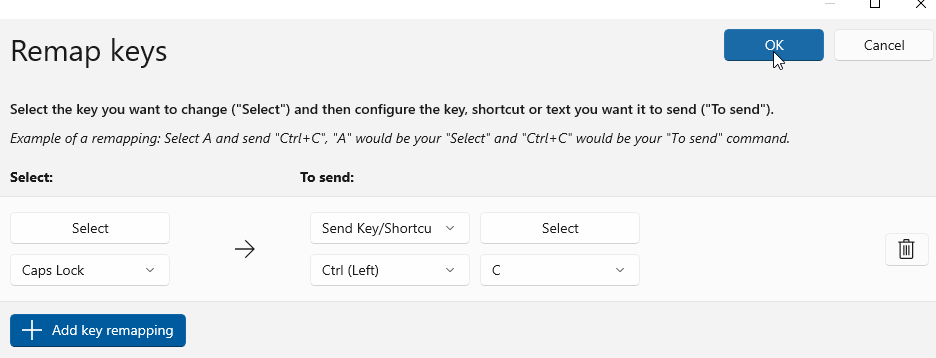
For remapping Caps Lock to a different function, like Ctrl + C, click the right "Select" button and press the desired shortcut key combination.
Disable Caps Lock Key with Registry Editor
Disabling Caps lock in the Registry editor is not recommended. But for your knowledge I will show you how to do it.
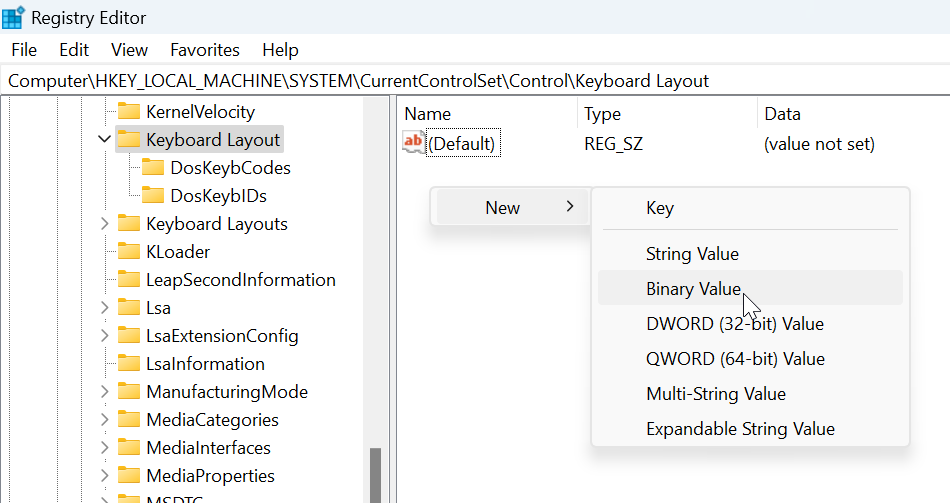
Launch the Registry Editor with administrator privileges and navigate to the following key:
HKEY_LOCAL_MACHINE\SYSTEM\CurrentControlSet\Control\Keyboard LayoutIn the right pane, create a new Binary Value named Scancode Map.
Then double-click on Scancode Map to open the Edit Binary Value window and type the following value:
00 00 00 00 00 00 00 00 02 00 00 00 00 00 3A 00 00 00 00 00Once you've set the value, restart your computer for the changes to take effect. To re-enable Caps Lock, simply delete the Scancode Map binary value.
