How to Set Up Permanent Static Routes in Ubuntu Server 24 (Netplan Method)
In this tutorial, we will learn how to add a permanent static route in Ubuntu Linux.
For this tutorial, I am using Ubuntu Server 24. However, the method described can also be used to add a persistent route in earlier Ubuntu versions, including Ubuntu 22.04.
For example, we use IPv4 addresses here, but the syntax for IPv6 addresses is similar. You'll use the same keywords and formatting — such as to for specifying the destination and via for the gateway — but with IPv6 addresses and prefixes.
Also, if you are not familiar with Ubuntu networking, I highly recommend reading the following tutorial: How to set a static IP in Ubuntu Server.
What is a Persistent Route?
In Ubuntu, permanent static routes, also known as persistent routes, are static route entries that persist across network or system restarts.
Typically, in a Linux system, the 'route add' and ip route add commands are used to add static routes to the routing table. However, these static route entries get deleted from the routing table when the network or system restarts.
So how can we make static routes permanent?
Making Static Routes Persistent in Ubuntu Linux
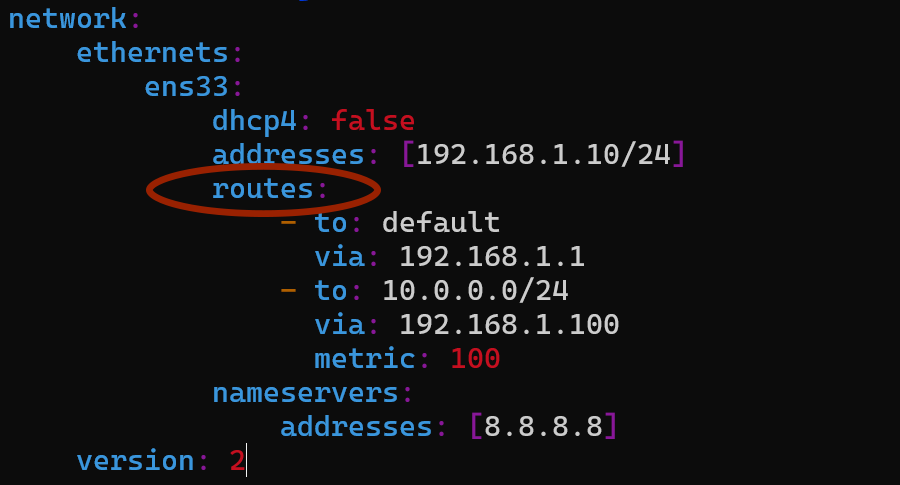
In Ubuntu Linux, to make static routes persistent, we must add route entries to the network interface file (YAML file in the /etc/netplan folder) using the routes property.
The /etc/netplan directory is where network configuration files are stored on Ubuntu 24 Server. In this directory, you will find at least one network configuration file with a .yaml extension.

The following is a sample Ubuntu network interface configuration file with permanent static route entries.
network:
    ethernets:
        ens33:
            dhcp4: false
            addresses: [192.168.1.10/24]
            routes:
                - to: default
                  via: 192.168.1.1
                - to: 10.0.0.0/24
                  via: 192.168.1.100
                  metric: 100
            nameservers:
                addresses: [8.8.8.8]

        ens37:
            dhcp4: false
            addresses: [192.168.10.10/24]
    version: 2
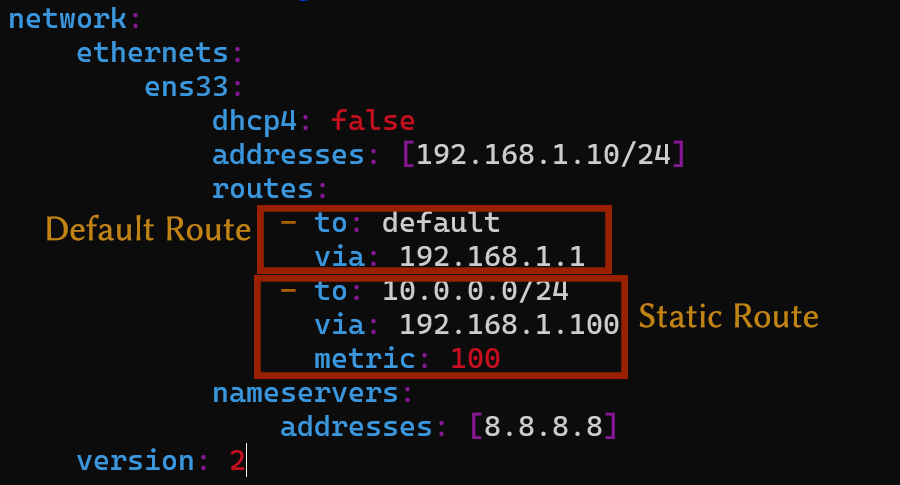
In this example, we have two static route entries under the network interface ens33.
routes:
    - to: default
      via: 192.168.1.1
    - to: 10.0.0.0/24
      via: 192.168.1.100
      metric: 100
The first entry is for the default gateway, as the destination is set to default.
- to: default
  via: 192.168.1.1
The second entry is a static route redirecting the 10.0.0.0/24 network through the 192.168.1.100 gateway with a metric of 100.
- to: 10.0.0.0/24
  via: 192.168.1.100
  metric: 100
You need to restart networking if you make changes to the netplan configuration file. You can restart networking by running the following command:
sudo netplan applyHow It Works
Static routes should be placed within the routes section of the interface configuration.

Each route is defined as a list item, starting with a hyphen. The to keyword specifies the destination network, followed by the via keyword for the gateway on a new line.

The destination can be either a host, in which case you add the IP address of the host, or a network, where you add the network ID along with the subnet mask.
Here is an example of a host route:
network:
    ethernets:
        ens33:
            dhcp4: false
            addresses: [192.168.1.10/24]
            routes:
                - to: 10.0.0.1
                  via: 192.168.1.100
                  metric: 100
When you have multiple network interfaces, you should add routes under the interface that will handle the traffic for that specific route.
For example, look at the following configuration:
network:
    ethernets:
        ens33:
            dhcp4: false
            addresses: [192.168.1.10/24]
            routes:
                - to: default
                  via: 192.168.1.1
                - to: 10.0.0.0/24
                  via: 192.168.1.100
                  metric: 100
            nameservers:
                addresses: [8.8.8.8]

        ens37:
            dhcp4: false
            addresses: [192.168.10.10/24]
            routes:
                - to: 192.168.20.0/4
                  via: 192.168.10.1
                  metric: 100
    version: 2
In this example, the route to reach the 192.168.20.0/24 network is placed under the ens37 network because ens37 handles traffic for the 192.168.10.1 gateway.
Verifying the Routes
You can check static routes by examining the routing table. To view the IPv4 routing table, run the following command:
ip routeTo view the IPv6 routing table, run the following command:
ip -6 route