Packet Tracer Installation on Linux Mint – Step-by-Step Guide
In this tutorial, I will show you how to download and install Cisco Packet Tracer on Linux Mint.
Here are the steps you need to follow to install Packet Tracer on Linux Mint 22:
Step 1: Install dependency packages
First install the GDebi package manager:
sudo apt update
sudo apt install gdebi
Next, download the dependency package libgl1-mesa-glx:
wget https://archive.ubuntu.com/ubuntu/pool/universe/m/mesa/libgl1-mesa-glx_23.0.4-0ubuntu1~22.04.1_amd64.debNext, install the downloaded libgl1-mesa-glx package using gdebi command:
sudo gdebi libgl1-mesa-glx_23.0.4-0ubuntu1~22.04.1_amd64.debStep 2: Download Packet Tracer for Linux Mint
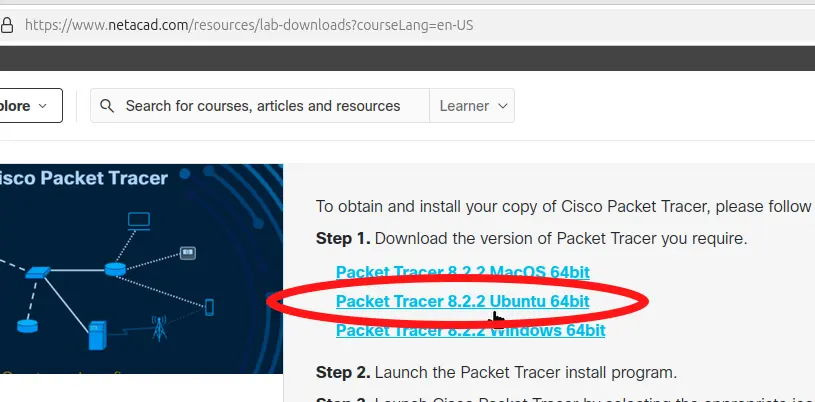
To download packet tracer for Linux Mint, go to this link: www.netacad.com/resources/lab-downloads. You'll need to log in to your NetAcad account to see the downloads. If you don’t have an account, just click "Sign Up" on the login page to create one.
After you log in, go back to the lab downloads page and download the Ubuntu 64-bit .deb file.
Step 3: Run the Packet Tracer installer
After downloading the Packet Tracer installer, open a terminal, move to the download location, and run the .deb file using the gdebi command:
sudo gdebi Packet_Tracer822_amd64_signed.debMake sure to replace the name of the .deb package with the one you downloaded.
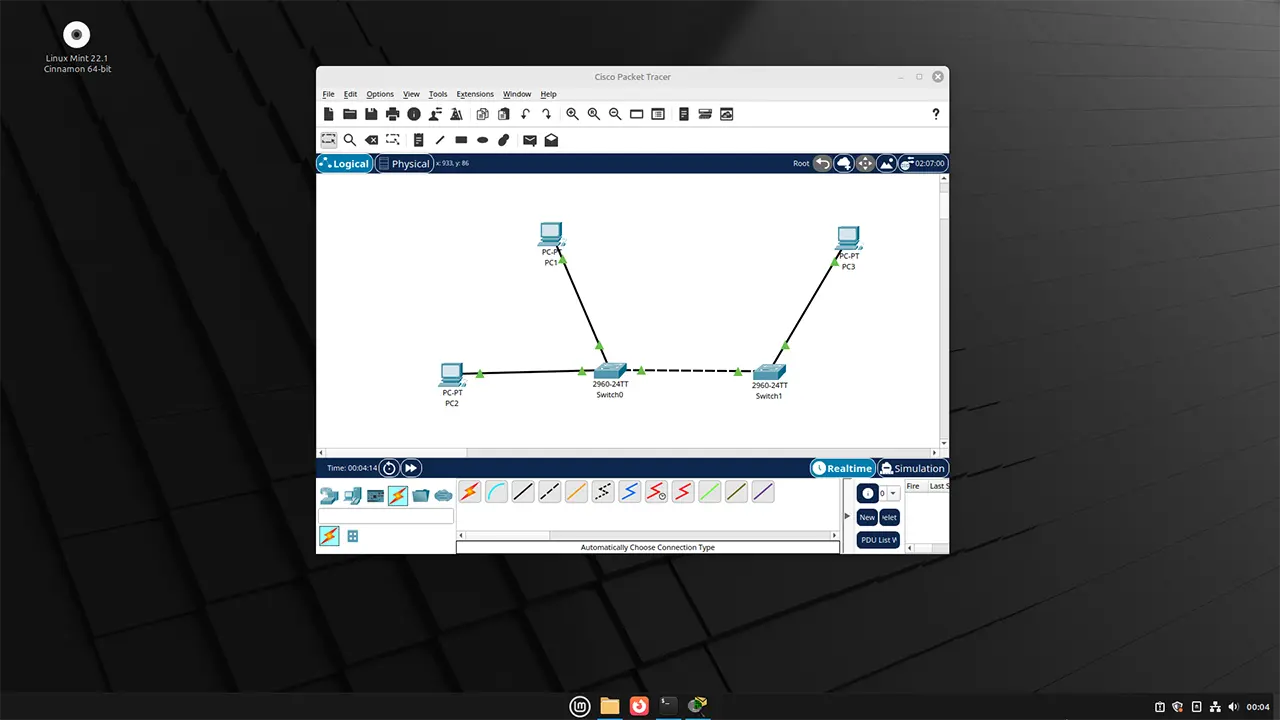
And that is all you need to do!
When you start Packet Tracer for the first time, you have two login options: Network Academy and Skills for All.
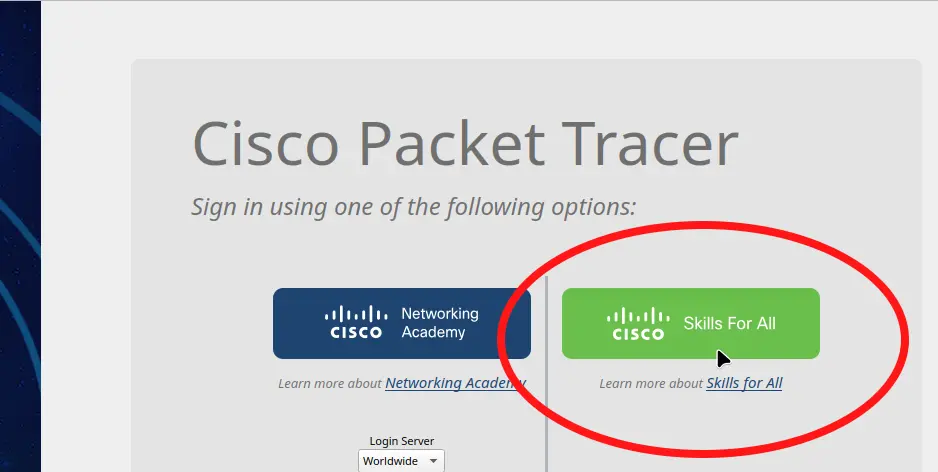
Choose Network Academy only if you're enrolled in Network Academy courses. Otherwise, choose Skills for All if you’re a self-learner.