How to Install VNC Server on Ubuntu Server 24 (Complete Guide)
In this tutorial, you will learn how to install and configure VNC on Ubuntu Server 24 for remote access. We will set up VNC using the TightVNC server.
This guide is for Ubuntu Server. For Ubuntu Desktop, click on this link.
Setting up VNC using TightVNC Server
The following are the steps you need to follow to set up a VNC server on Ubuntu Server 24.
Step 1: Install the Xfce Desktop Environment
VNC requires a desktop environment. We will install Xfce, a lightweight desktop for Linux that works perfectly with VNC Server.
sudo apt-get update
sudo apt-get install xfce4 lightdm-gtk-greeter dbus-x11 autocutsel
Step 2: Install TightVNC Server
Next, install TightVNC Server using the following command:
sudo apt-get install tightvncserverStep 3: Start the VNC Server (Not as Root)
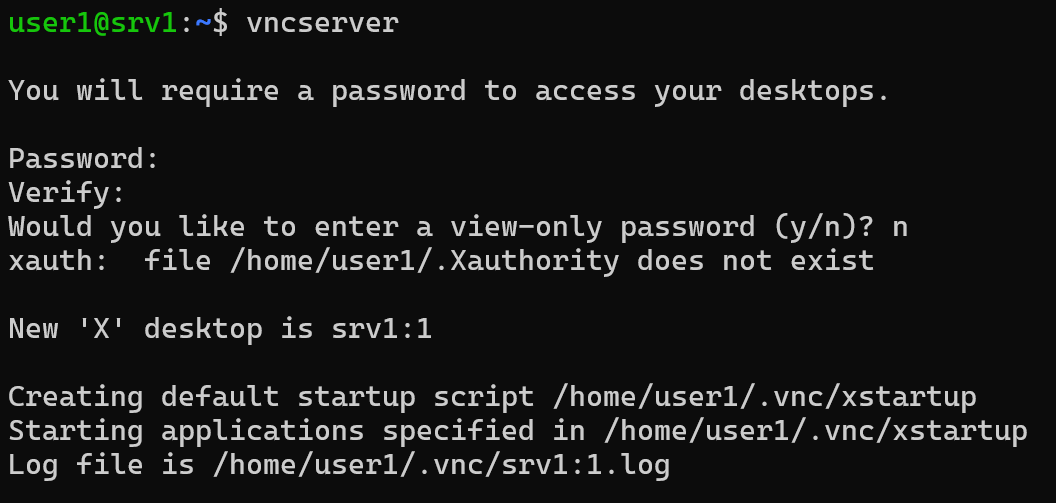
Next, we need to start VNC Server for the first time to run the initial configuration. The important thing is that when you run the vncserver command, you must run it as the user you will use to connect to the server remotely. Do not run this command as the root user.
vncserverWhen you run the command for the first time, it will ask you to set up a password to access your desktop.
Step 3: Stop the VNC Server
We need to configure VNC before using it for remote access. First, kill the VNC process by running the following command:
vncserver -kill :1Step 4: Edit the xstartup Script
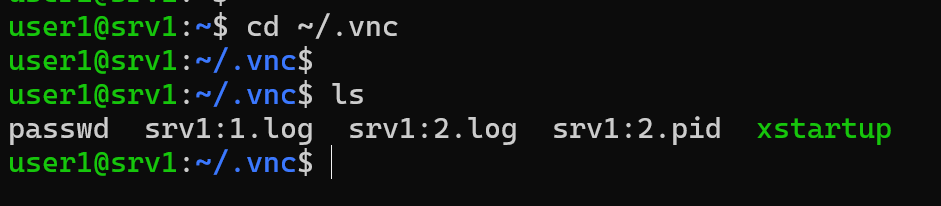
You will find a hidden folder named .vnc in your home directory. Inside the .vnc folder, there is a file named xstartup.
Now, open the xstartup file in a text editor and replace its configuration with the following:
#!/bin/sh
unset SESSION_MANAGER
[ -x /etc/vnc/xstartup ] && exec /etc/vnc/xstartup
[ -r $HOME/.Xresources ] && xrdb $HOME/.Xresources
autocutsel -fork
startxfce4 &Step 5: Start the VNC Server
We have now configured the TightVNC Server. Now, it's time to start the server.
We start a new VNC Server instance using the vncserver command and specify a desktop number. Each instance of TightVNC Server should start with a different number:
vncserver :1 -geometry 1280x720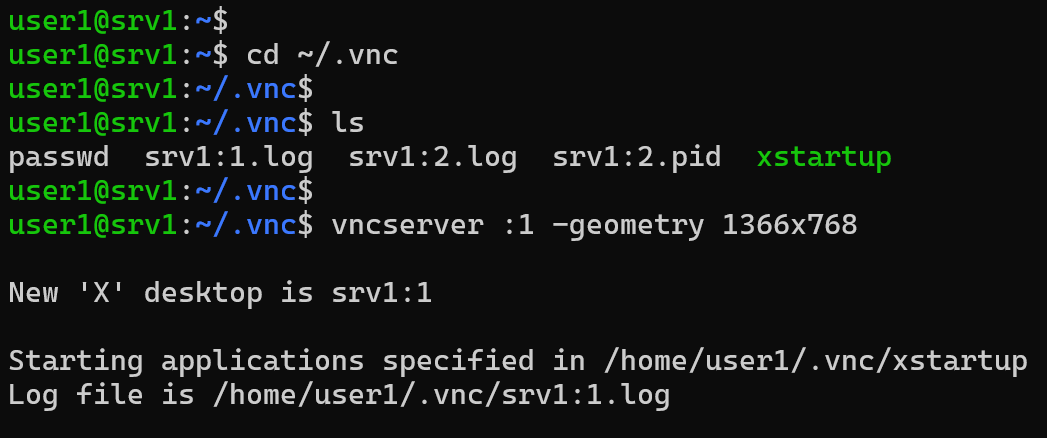
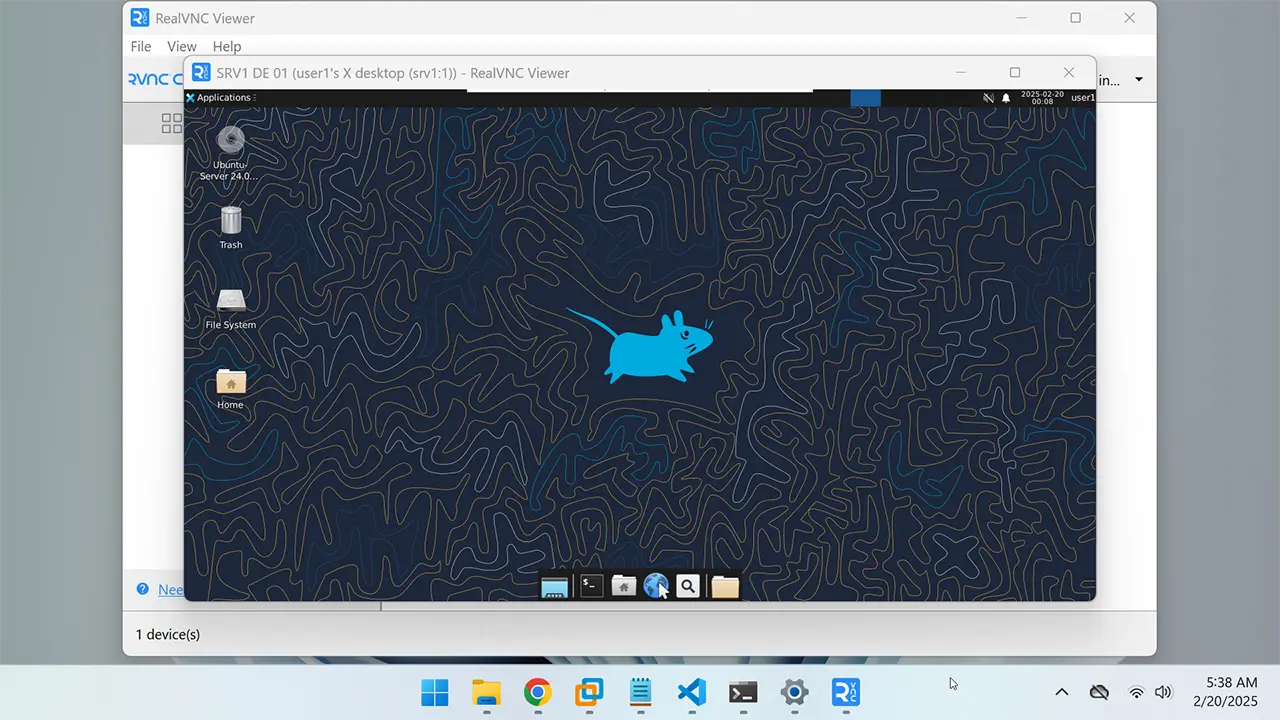
Step 6: Connect to the VNC Server Remotely
Now, you can connect to the Ubuntu VNC Server using VNC viewer software.
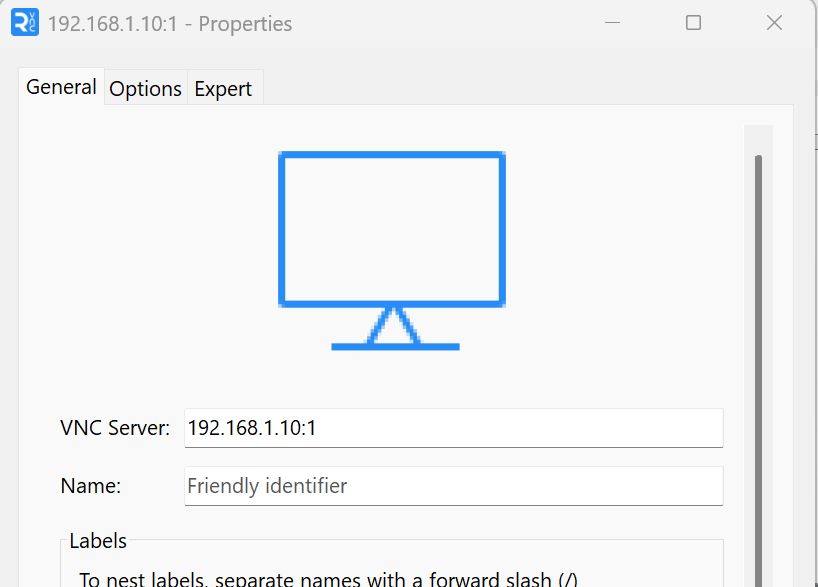
In the VNC viewer, when specifying the server address, you need to type the IP address or hostname of the Ubuntu server, followed by a colon (:), and then the desktop number.
For example, if the IP address is 192.168.1.10 and the desktop number is 1, you would type 192.168.1.10:1.
Enabling Multiple Users Access
You can use VNC Server to allow multiple users to connect at the same time.
There are two solutions:
- Allow shared access to the same desktop using the same user.
- Let each user have their own separate desktop with a different user account.
If you want to allow multiple simultaneous connections to the same desktop, start the VNC server with the -alwaysshared option (use -nevershared to prevent more than one connection to the same desktop).
vncserver :1 -geometry 1280x720 -alwayssharedThe second option is to start a separate desktop under a different Linux user with a different desktop number.
- Only one desktop instance can run per Linux user.
- Each instance should start with a unique desktop ID
For example, start one instance under user1 with desktop ID 1:
vncserver :1 -geometry 1280x720Then, start a second desktop under user2 with desktop ID 2:
vncserver :2 -geometry 1280x720You can use the ps command to find which desktop ID is running under which user:
ps aux | grep tightvncConfiguring the Firewall
If your Ubuntu Server is behind a firewall, you will need to open the relevant firewall port(s) to access the VNC desktop.
However, each desktop instance uses different ports depending on the desktop ID. The port is always calculated as 5900 + the desktop ID.
For example:
vncserver :1Listens on port5901vncserver :2Listens on port5902
You can find which ports are being used by the VNC server by running the ss -tlnp command.
Why Does VNC Use Port 6001?
VNC also uses port 6001 (6000 + desktop ID) for X11 connections. However, you don’t need to open these ports for VNC clients. Open port 6001 only if you are using a program that requires X11 forwarding.
Setting VNC Server to Start Automatically at Reboot
So far, we have been starting and stopping the TightVNC Server using the vncserver command. Additionally, the VNC Server does not start automatically when the system restarts.
To automate the process, we need to create systemd unit files. A separate systemd unit file should be created for each desktop.
- The
systemdunit file should be created in the/etc/systemd/systemdirectory. - The file name should follow the format:
<service-name>@<desktop-id>. - For example, for VNC Desktop 1, you can name it
[email protected]. For Desktop 2, name it[email protected].
Now, let's create a systemd unit for the VNC Server instance with Desktop ID 1.
First, move it to the /etc/systemd/system directory:
cd /etc/systemd/systemInside the /etc/systemd/system folder, create a file called [email protected].
sudo vim [email protected]Then, add the following configuration. Replace User=your_username with the Linux user that connects to this VNC desktop.
[Unit]
Description=Start VNC Server With Desktop ID :%i
After=multi-user.target network.target

[Service]
Type=forking

# Replace your_username with the linux user that connects to this desktop
User=your_username
ExecStartPre=-/usr/bin/vncserver -kill :%i > /dev/null 2>&1
ExecStart=/usr/bin/vncserver :%i -geometry 1280x720 -alwaysshared
ExecStop=/usr/bin/vncserver -kill :%i

[Install]
WantedBy=multi-user.target
Next, save the file and reload systemd to apply the changes:
sudo systemctl daemon-reloadFinally, set [email protected] to start automatically at system reboot:
sudo systemctl enable [email protected]You can now start, stop, and restart VNC Desktop 1 using the systemctl command:
sudo systemctl stop [email protected]
sudo systemctl restart [email protected]
Changing the VNC Password
To change the VNC password, run the vncpasswd command.
vncpasswdThe vncpasswd command also allows you to create a read-only password. In read-only mode, the user cannot do anything except view what is happening on the display.
Wrapping Up
And that brings us to the end of this guide on setting up VNC on Ubuntu Server 24 using TightVNC Server. You should now be able to easily access your Ubuntu server remotely via VNC.
For more Linux tutorials like this, subscribe to our YouTube channel @RealClearComputing.