How to screenshot on Windows 10 With Snip & Sketch
Sometimes, it can be useful to be able to take screenshots of your computer screen. Screenshot are images taken directly from your desktop screen. Windows 10 has a built-in feature that lets you capture your screen with a couple of keystrokes. We can also edit the image with the Snip and Sketch tool which is Free image editing software available in Windows 10.
The following section explains how to take a screenshot on Windows 10 operating system.
Performing Screen Captures With Snip & Sketch Tool And Shortcut Keys
To screenshot On Windows 10, Press Windows, Shift and "S" keys on your keyboard (Windows Key + Shift Key + S).
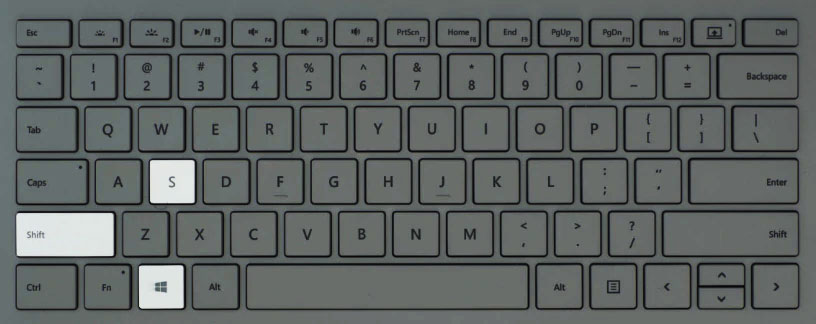
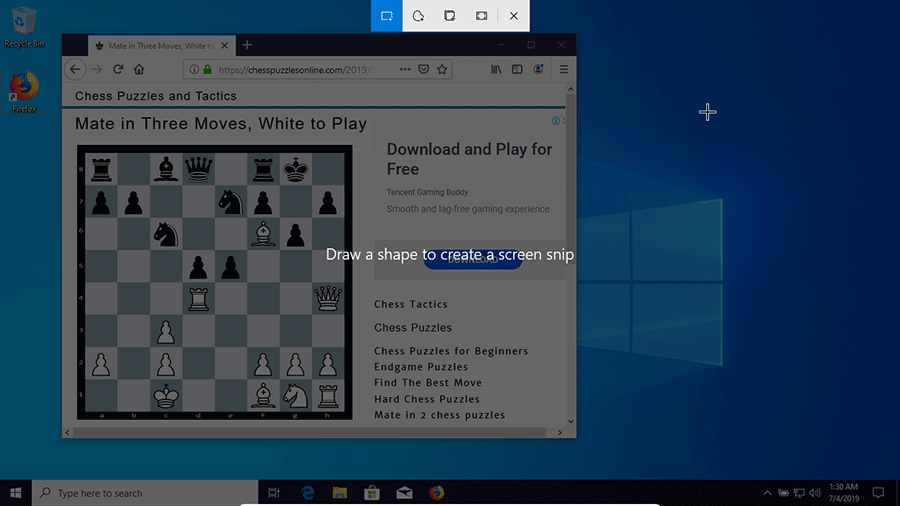
When you press that key combination, a toolbar will appear at the top of your screen where you can select the type of screen you want to capture: a rectangle, a free-form selection, one single window or Fullscreen.
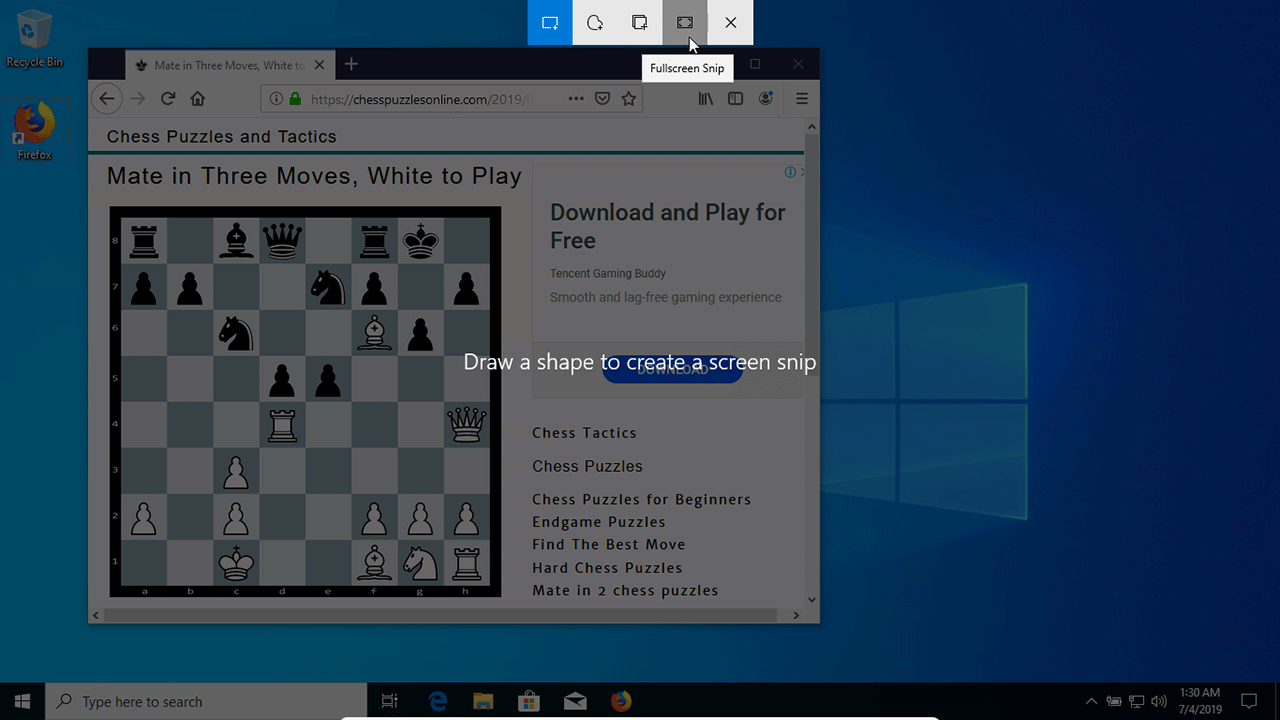
Choose "Full-screen Snip" (Fourth option from the left) to capture full screen of your desktop. By default your screen at the time will be saved to the Clipboard. You can paste it into any document (for example, Microsoft Word, Photoshop, etc.).
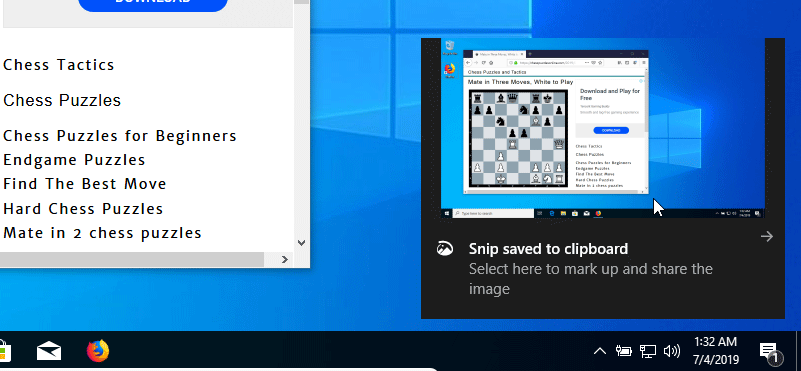
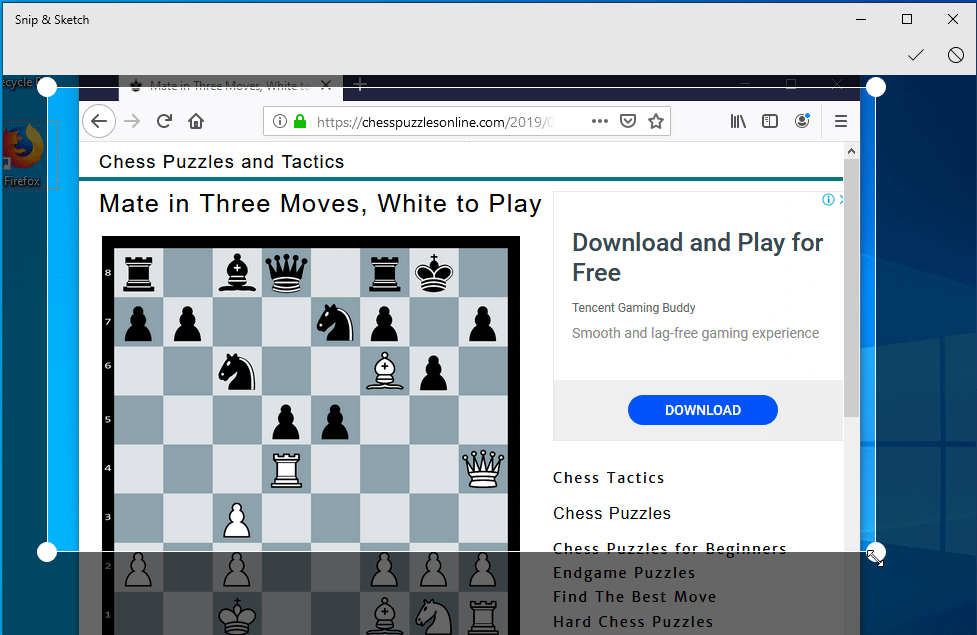
Small preview will appear at the bottom of your desktop (Bottom right corner). If you click on the preview, the screenshot will open in the Snip and Sketch tool where you have options to edit, modify and save screenshots to a different location.
Note that Snip & Sketch is not available in the earliest version of Windows 10. To install Snip & Sketch, update Windows 10 to the latest version and go to the Windows Store where you can find Snip & Sketch tool.
Include mouse pointer
The default Windows 10 screen capture tool does not include the mouse pointer, if you want to add mouse pointer in your image, you will need to use a third party screen capture software(For example: ShareX, PicPick Portable, etc.).