Install Windows 11 WITHOUT a Microsoft Account (Local Account Guide)
Installing Windows 11 by default requires an internet connection and a Microsoft account. However, if you prefer to use a local account, you can bypass these requirements by following a few simple steps.
Here’s how you can install Windows 11 without a Microsoft account or internet connection.
Step 01: Disconnect From the Internet and Begin the Installation
Before starting the installation, disconnect your computer from the internet. You can do this by either unplugging the network cable or turning off your router if you connect using Wi-Fi.
After that, start the Windows 11 installation process as usual.
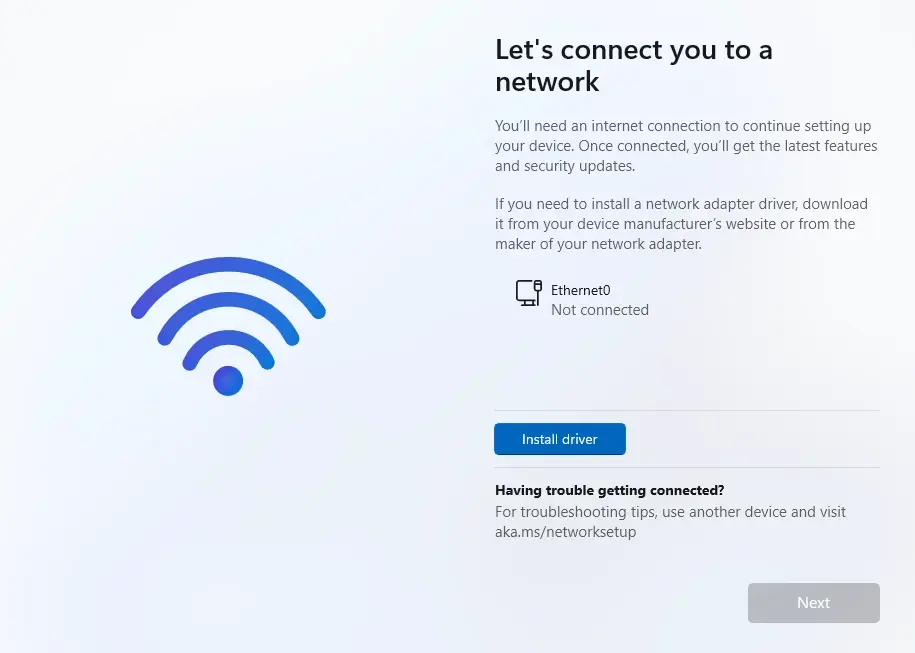
Step 02: Bypass the Internet Connection Page
Once the installation finishes and you reach the "Let’s connect to a network" page, press Shift + F10 on your keyboard to open the Command Prompt.
In the Command Prompt, type oobe\byassnro and press Enter.
oobe\byassnroThis will restart your computer and bring you back to the setup screen.

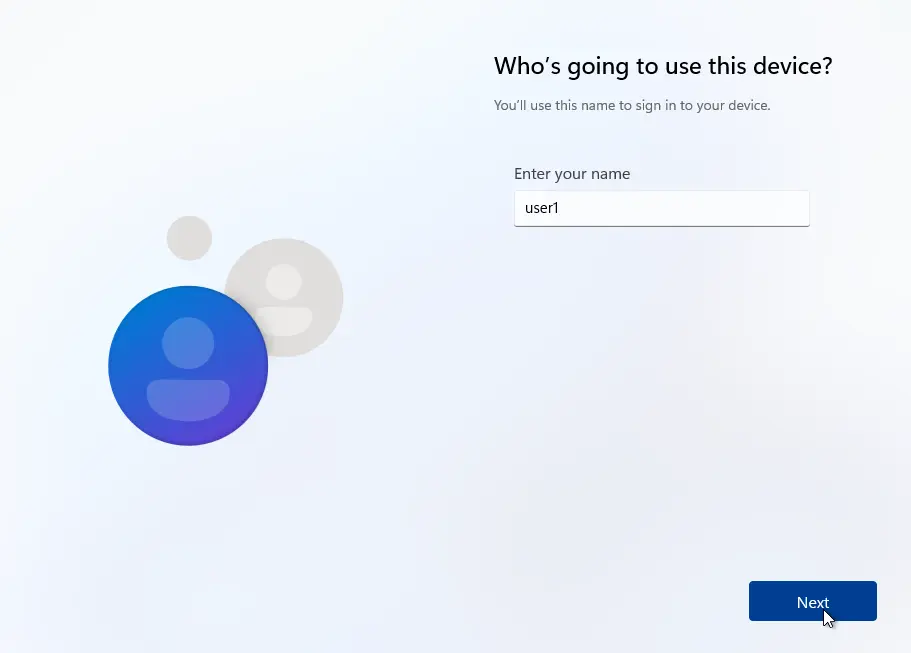
Step 03: Create a Local Account
After the restart, Windows will start the setup wizard again. This time, however, on the 'Let’s connect to a network' page, you will now see an option labeled 'I don’t have internet'.
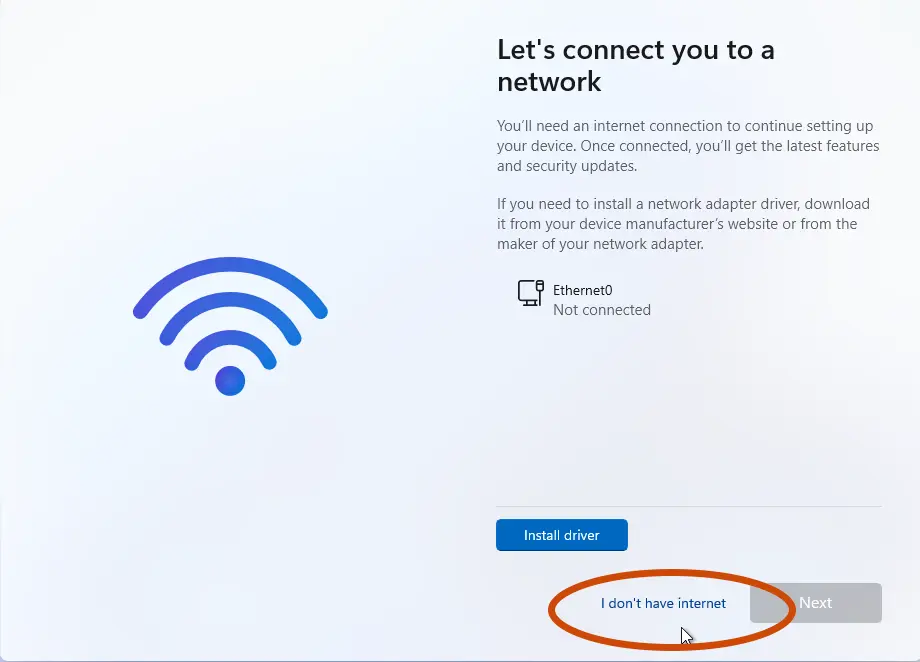
Click on this option, and you can continue the installation by creating a local account instead of signing in with a Microsoft account.