Nmap for Windows 10/11 – Install Nmap and Zenmap
Nmap is a powerful and flexible tool used for port scanning and vulnerability assessments. It is an essential tool you need to be familiar with as a server administrator.
While the most popular way of using Nmap is through the command line, it also has a GUI called Zenmap.
Download Nmap for Windows 10/11/Server
Nmap supports both Windows and Linux-based operating systems. If you are on Windows, click on This Link to download Nmap.

Download the latest stable release of the self-installer, which provides both command-line and GUI versions of the Nmap for Windows.
After the download is complete, double-click the downloaded file to launch the installer.
In the Choose Components window, you can select which features of Nmap to install. Go with default selection, as shown in the following screenshot).
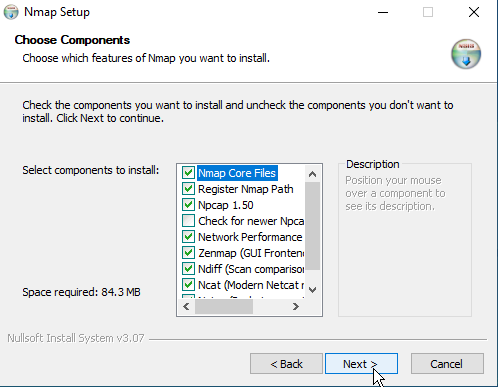
Make sure that the Register Nmap Path is selected to run the Nmap command from the CMD. The Zenmap package provides the graphical user interface (GUI) for the Nmap command.
Using Nmap and Zenmap
After the installation is complete, open a command prompt (CMD) or PowerShell, and execute the following command:
nmap --versionThe above command will show the Nmap version installed on your Windows PC.

The syntax of nmap is as follows:
nmap <options> <Target>You can perform a simple scan just by using the IP Address (or hostname) of the remote computer:
nmap 192.168.1.10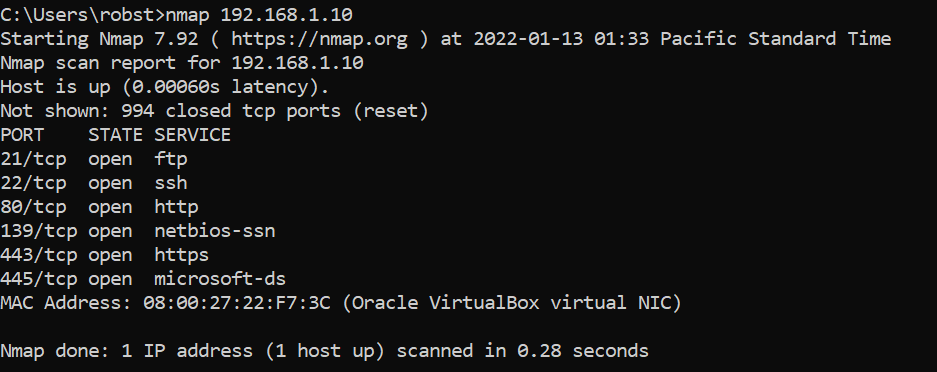
Here is another example that checks if port 80 is open:
nmap -p 80 192.168.1.10Run the nmap command without any parameters and switches to show the help page:
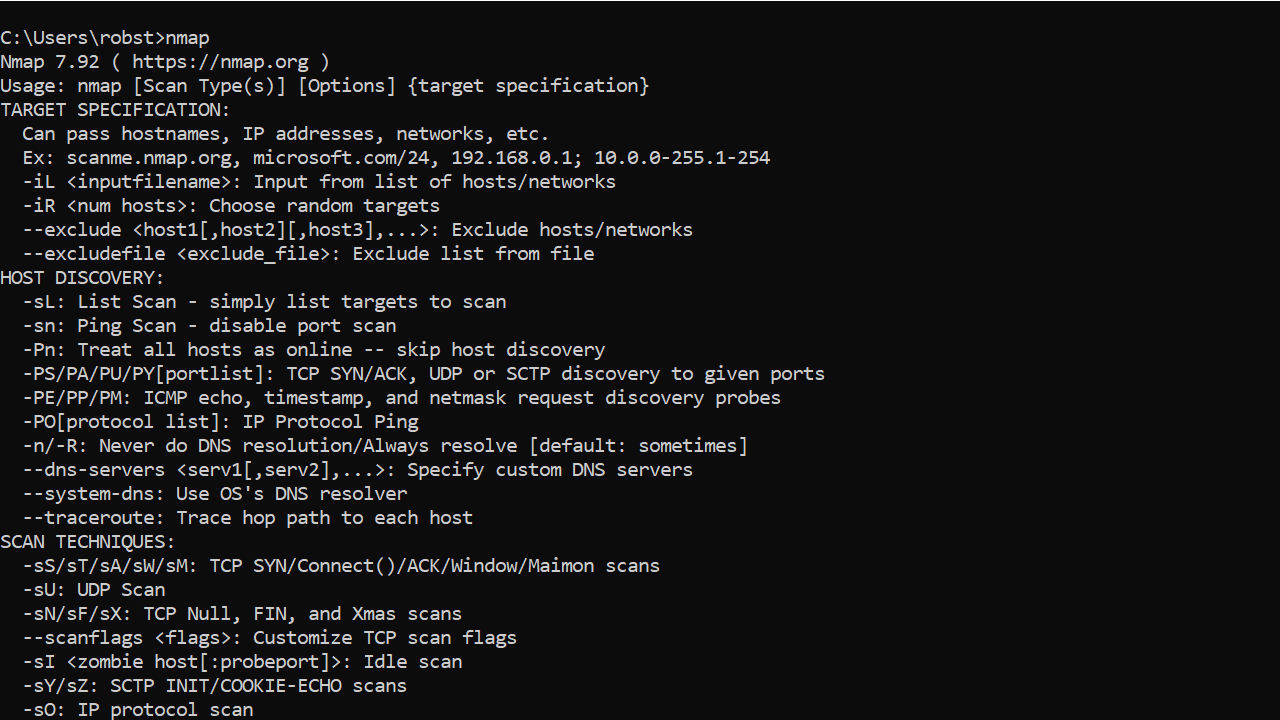
Shortcut to the Nmap GUI (Zenmap) will be available in the Windows Start Menu.
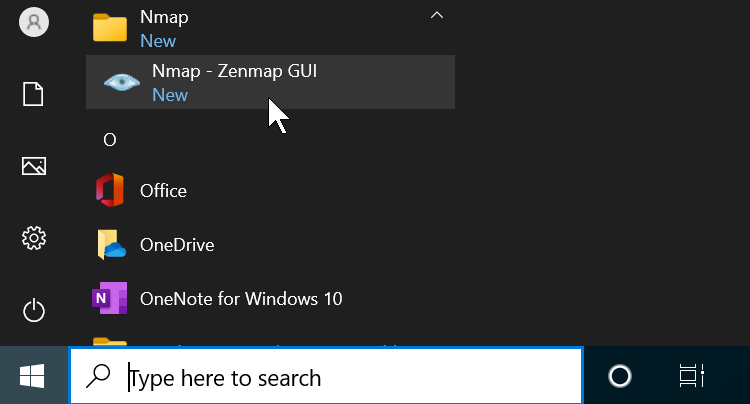
The following screenshot shows the Zenmap interface:
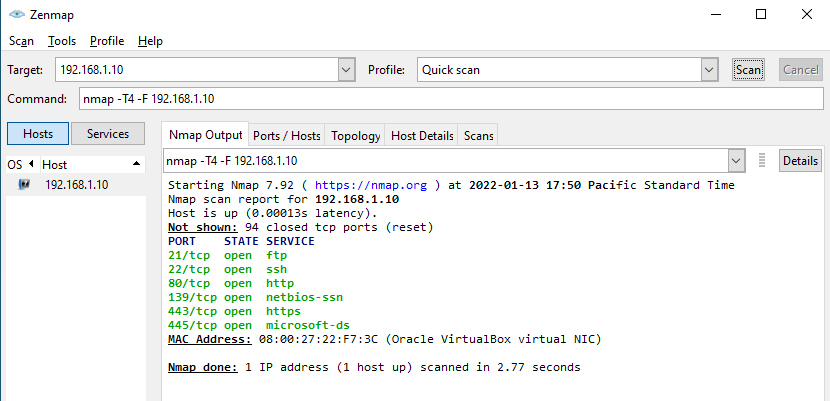
To perform a quick scan: put the IP address in the Target field and then select Quick scan from the Profile drop-down list before clicking the Scan button.
In the Zenmap interface, click Help (Ctrl+H) to open the documentation to learn more about the nmap command.